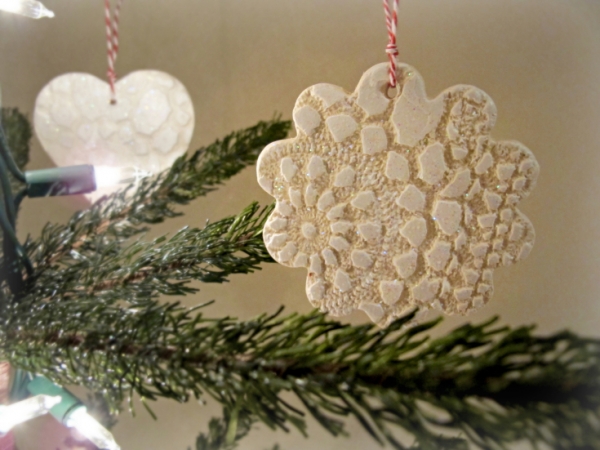
Use little scraps of lace or other strongly texture material to impress your clay and then your favourite seasonal cutters to cut out a shape. Pierce with a straw to make a hanging hole and let dry. This project from BluKatKraft is a spin on a popular concept but it’s popular for a good reason: it makes great, simple ornaments with lots of options for variation. Paint your ornaments, add glaze, glitter or text. Sign and date the back to make a commemorative piece. Use these as gift tags or package toppers. Like many of the air dry projects this one works just fine with oven baked clay – simply replace the dry time with bake time and use a compatible spray glaze. I’ve had success with spray Varathane and PYMII.
Are you looking for a creative and unique way to spruce up your Christmas tree this year? Air dry clay Christmas ornaments are a great option! Not only are they easy to make and customize, but they look beautiful and elegant, too.
Plus, they’re much more affordable than traditional glass or plastic ornaments. All you need is some air dry clay, a rolling pin, and a few cookie cutters to get started. You can roll out the clay, cut out shapes with the cookie cutters, and let them air dry overnight.
Once they’re dry, you can paint them in any color or pattern you like. You can even make personalized ornaments with names or special messages written on them. And when you’re done, you can hang them on your tree for years to come. So if you’re looking for a unique and beautiful way to decorate your tree this year, look no further than air dry clay Christmas ornaments.
Looking for air-drying clay? We highly recommend Das Air dry clay, we have been using this product for over 30 years. Check out their Das White Air drying clay and their Terracotta Air drying clay
version for a natural pottery feel. For larger crafts we recommend buying your air drying clay in bulk

This is a super fun & simple project, thanks so much for sharing!