I had a curious customer in my shop today poking at some of the scraps on my work bench. Some of those are stiff, crumbly bits of clay that I don’t use for much except filler. The customer wanted to know if this stuff was still usable though. They were familiar with some of the old fashioned Fimo from 15 or 20 years ago. And, let’s face it, the stuff was and is a bear to make not stiff and crumbly.
I explained a little to them but there’s better explanations on the internet. This article, by Ginger of The Blue Bottle Tree, is part of a larger series of sensible newbie information for clayers.
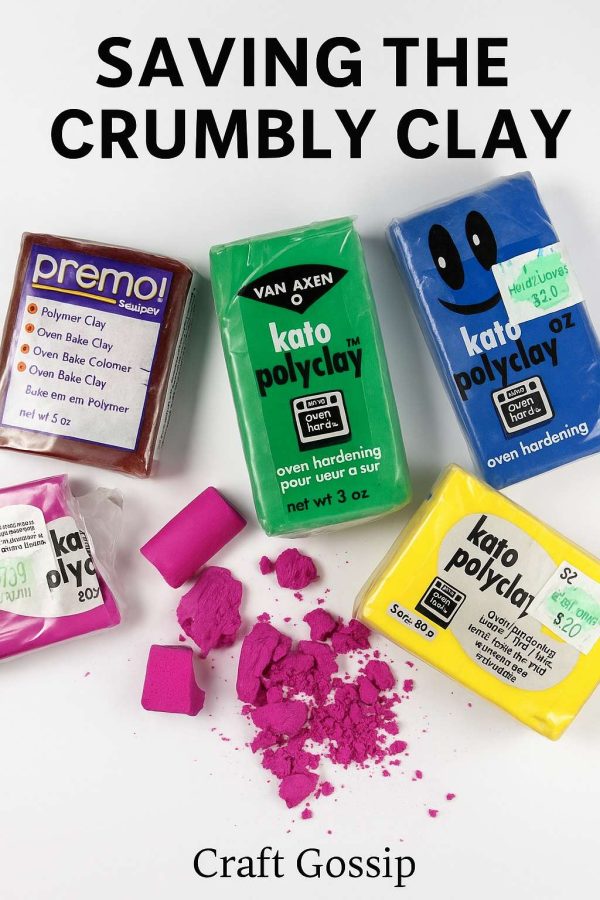
Have you ever pulled out a block of polymer clay only to find it dry, hard, or crumbling apart in your hands? It’s one of the most frustrating things that can happen in the middle of a creative project. Don’t toss it just yet—there are several tried-and-true ways to bring that crumbly clay back to life so you can keep sculpting, caning, or crafting without wasting your materials.
In this guide, we’ll walk through why polymer clay goes crumbly, how to soften it, and the best rescue techniques for every clay brand.
Why Does Polymer Clay Crumble?
Polymer clay doesn’t “dry out” like air-dry clay or pottery clay—it cures in the oven, not in the air. But over time, the plasticizers in the clay can leach out or evaporate, leaving the clay stiff and breakable.
Some common reasons include:
- Old stock – Clay that’s been sitting for years, especially if exposed to heat or sunlight.
- Improper storage – Storing clay in hot, dry places can accelerate plasticizer loss.
- Clay formulation – Some brands and colors are naturally more brittle or drier than others.
The good news? With the right technique, even decade-old clay can often be revived.
Step 1: Warm It Up
Before adding anything, try warming your clay. Polymer clay becomes more pliable when it’s soft and warm.
- Place it in your pocket for 15–20 minutes.
- Hold it in your hands while kneading.
- If you live in a cold climate, set it near (but not on!) a heater.
Sometimes a little warmth is all you need.
Step 2: Chop and Process the Clay
If the clay is really crumbly, run it through a dedicated food processor or pasta machine. Chopping it into smaller pieces helps distribute the remaining plasticizers.
Pro tip: Add a few drops of mineral oil, clay softener, or baby oil before processing—it works like a conditioner for clay.
Step 3: Add a Clay Softener
Here’s where the magic happens. Most polymer clay brands sell their own softening agents:
- Sculpey Clay Softener – A liquid additive that restores flexibility.
- Fimo Mix Quick – A pliable add-in designed to rejuvenate clay.
- Cernit Soft Mix – Another great option for reviving hardened clay.
Start with a few drops or a pea-sized amount, then knead it in gradually. Too much can make your clay sticky.
Step 4: Mix With Fresh Clay
If your clay is really stubborn, mix the old clay with a new, fresh block of the same brand. The soft clay reintroduces plasticizers, balancing out the dry texture.
This method works especially well if you want to save a favorite discontinued color—you’ll still keep the tone while giving it new life.
Step 5: Last-Resort Fixes
If none of the above works, try:
- Liquid polymer clay (TLS, Liquid Fimo, or Cernit Gel) – Blend small amounts into crumbly clay for a smoother texture.
- Mechanical pressure – Running it repeatedly through a pasta machine on the thickest setting.
- Dedicated clay conditioner products – Many clay artists swear by them for old stock.
Preventing Future Crumbling
Once you’ve saved your clay, protect your stash so it stays fresh longer:
- Store in airtight bags or containers.
- Keep clay cool—room temperature is ideal, away from direct sunlight.
- Label and rotate—use older clay first to prevent waste.
When to Let Go
Unfortunately, sometimes clay is too far gone. If it’s rock-hard, chalky, or disintegrates no matter what you try, it might be better to retire it. You can still use hardened clay as:
- Armature filler (bulk under foil in sculptures).
- Texture chips for mixed media art.
- Color sample tiles for your studio.
That way, nothing truly goes to waste.
Crumbly clay isn’t the end of your project—it’s just a small detour. With a bit of patience, the right tools, and a little creative problem-solving, you can save most polymer clays and get back to crafting.
Next time you come across a forgotten stash of old blocks, don’t panic—revive, rescue, and reuse. Your clay (and your wallet) will thank you!


