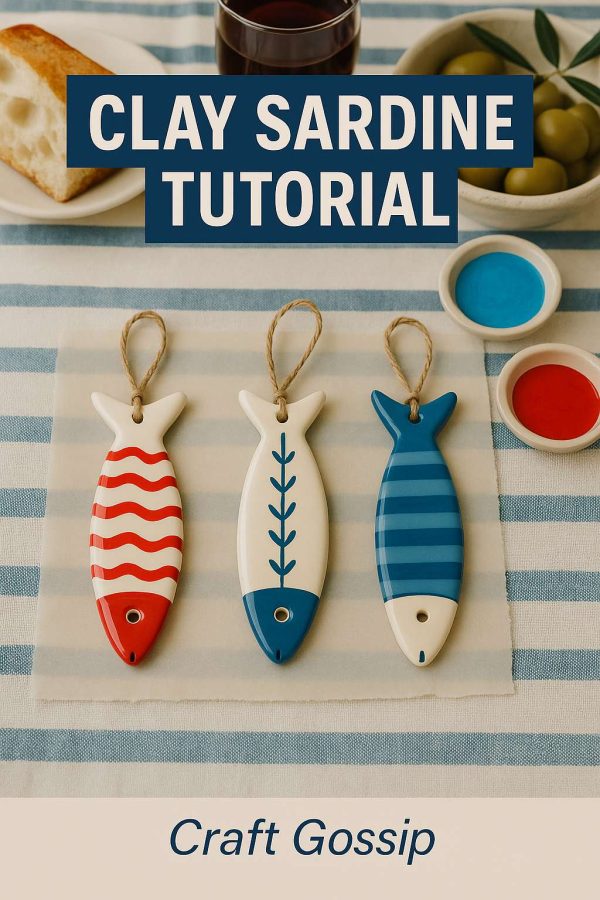
If you’ve ever walked through a Greek market, you’ll know the charm of sardines lined up fresh on ice. This project brings that same coastal energy into your home, but with clay instead of fishy fingers! These glossy ceramic sardines are simple to make, fun to decorate, and can be strung up as ornaments, kitchen wall décor, or even Mediterranean-style gifts.
Whether you use earthy pottery clay or an easy air-dry alternative, these sardines look stunning with their hand-painted red and blue designs. Think seaside tavernas, olives, and a glass of wine while you create—a craft that feels like a holiday.
Why Make Clay Sardines?
- They’re a beginner-friendly pottery project.
- You can decorate them with bold, folk-art patterns in classic coastal colors.
- Add a little hole and string, and you’ve got instant hanging ornaments.
- They make wonderful kitchen décor or handmade gifts.
Materials You’ll Need
- White pottery clay (stoneware or earthenware works best)
- Rolling pin
- Sardine printable template (available from Craft Gossip)
- Craft knife or needle tool
- Wooden modeling tools
- Small bowl of water
- Underglazes or ceramic paints in cobalt blue and terracotta red
- Fine paintbrushes
- Clear glaze
- Twine or rustic string
- Kiln (or air-dry clay if you don’t have kiln access)
Step-by-Step Tutorial
Step 1 – Roll Out the Clay
Roll out your clay into an even slab about 6–8mm thick. Use guides to keep the thickness consistent.
Step 2 – Cut the Sardine Shapes
Place your sardine template on the clay and trace around it with a needle tool. Cut out as many as you’d like—bundles of 5–6 look fantastic.
Step 3 – Smooth and Add Details
Gently smooth the edges with a damp sponge. Use a tool to press a tiny hole in the tail end—this will allow you to thread string later. Add light details like fins or eyes if you’d like, but keep it simple.
Step 4 – Dry and Bisque Fire
Let your sardines dry slowly under a cloth for a day or two, then fully dry before bisque firing in the kiln. (If using air-dry clay, skip the kiln and let them cure naturally.)
Step 5 – Paint in Red and Blue Designs
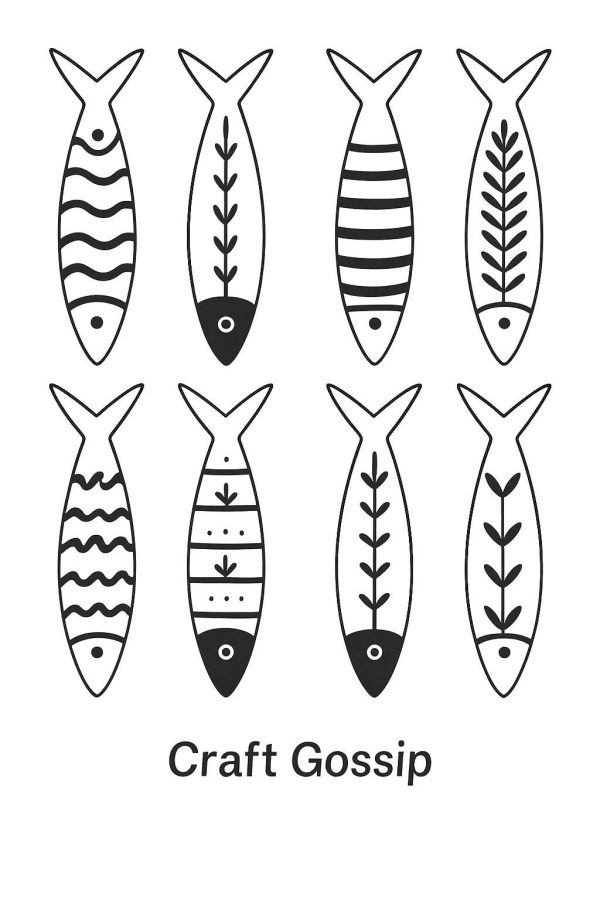
Once fired, bring them to life with underglazes or ceramic paints. Use bold, simple folk-art patterns such as:
- Wavy lines for the sea
- Stripes for a nautical feel
- Leafy spines down the middle
- Dots or chevrons for variation
Keep each one different so they look like a joyful, mismatched family of fish.
Step 6 – Apply Glaze and Final Firing
Coat the sardines with a layer of clear glaze to give them a beautiful glossy finish. Fire again according to your glaze instructions.
Step 7 – String and Display
Thread rustic twine through the tail hole and tie into loops. Hang them in bundles on the wall, string them along a shelf, or gift them to a friend who loves coastal charm.
Ideas for Using Your Clay Sardines
- Kitchen Wall Hanging: Group 5–6 sardines together for a bold focal point.
- Christmas Ornaments: Folk-art sardines make quirky, coastal tree decorations.
- Gift Tags: Tie them onto a wrapped present for a handmade extra.
- Table Styling: Scatter them across a breadboard or tray for a Greek-inspired tablescape.
Don’t stress about making them “perfect.” The beauty is in their handmade irregularities—slightly uneven shapes, brushstrokes that wander, and rustic twine ties. That’s what makes them feel authentic and special.