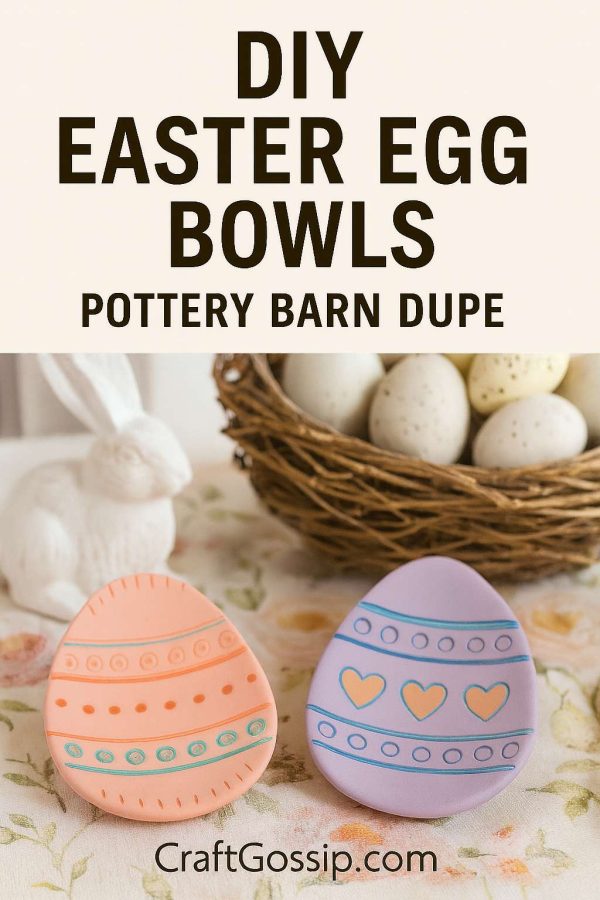
If you’ve ever swooned over Pottery Barn’s Easter collection but balked at the price tags, you’re not alone. Their charming Easter Egg Nesting Bowls are gorgeous, but not exactly budget-friendly. Lucky for us, there’s a way to recreate the look (and dare I say, improve it!) using affordable materials and a touch of creativity. These DIY Easter Egg Bowls look like boutique pottery, but they cost just a fraction of the price.
Whether you’re decorating for an Easter brunch, filling them with candy for the kids, or simply adding seasonal flair to your table, this project will give you that Pottery Barn look without draining your holiday budget.
Why Make Your Own Easter Egg Bowls?
- Budget-Friendly – Craft supplies cost a tenth of retail décor.
- Custom Colors – Choose pastel, speckled, or even metallic finishes to match your style.
- Handmade Charm – No two bowls will ever look the same, giving them that authentic, artisan look.
- Sustainable Crafting – Skip mass-produced items and create heirloom-worthy pieces with your own hands.
Materials You’ll Need
- Air dry clay (white or terracotta works beautifully)
- Small bowls (to use as molds – choose round or oval for that “egg” shape)
- Rolling pin
- Craft knife or clay cutter
- Sandpaper (fine grit)
- Acrylic paints in Easter pastels (mint, blush, lavender, butter yellow)
- Speckling tool (an old toothbrush works perfectly)
- Matte sealant spray (optional, for durability)
Step-by-Step Tutorial
Step 1: Roll & Cut the Clay
Roll out your clay about ¼ inch thick. Using your bowl mold or freehand it, trace and cut a rough oval or circle shape slightly larger than the mold.
Step 2: Shape the Egg Bowl
Gently press the clay over the outside of the bowl mold. Smooth it with damp fingers so it hugs the mold shape. Don’t worry about slight cracks or uneven edges—these add to the handmade charm.
Step 3: Dry & Remove
Let the clay dry completely (24–48 hours depending on thickness). Once dry, carefully slide it off the mold.
Step 4: Smooth the Edges
Lightly sand the edges to create a soft, organic rim. Leave them irregular if you want that rustic, pottery look.
Step 5: Paint in Pastel Easter Colors
Mix soft pastel shades or stick to classic white. Apply 2–3 coats of acrylic paint, letting each layer dry.
Step 6: Add the Pottery Barn “Speckled Egg” Finish
Dip a toothbrush in watered-down brown or black paint and flick it across the bowls for a speckled egg look.
Step 7: Seal for Durability
If you plan to handle or reuse the bowls, finish with a matte sealant.
Display Ideas
- Fill with chocolate eggs for your Easter table.
- Use as small planters for succulents or wheatgrass.
- Nestle fabric carrots or tiny faux birds’ nests inside.
- Stack them for a “nesting bowls” display on a spring shelf.
Crafty Tip
Want a truly Pottery Barn dupe? Mix a touch of chalk paint into your acrylics for that matte, ceramic-like finish. You’ll get a high-end pottery look without a kiln.
These DIY Easter Egg Bowls aren’t just an affordable dupe—they’re a way to add your own touch of handmade charm to Easter decorating. They’ll look just as stylish on your holiday table as the Pottery Barn version, but with the added joy of knowing you made them yourself.


