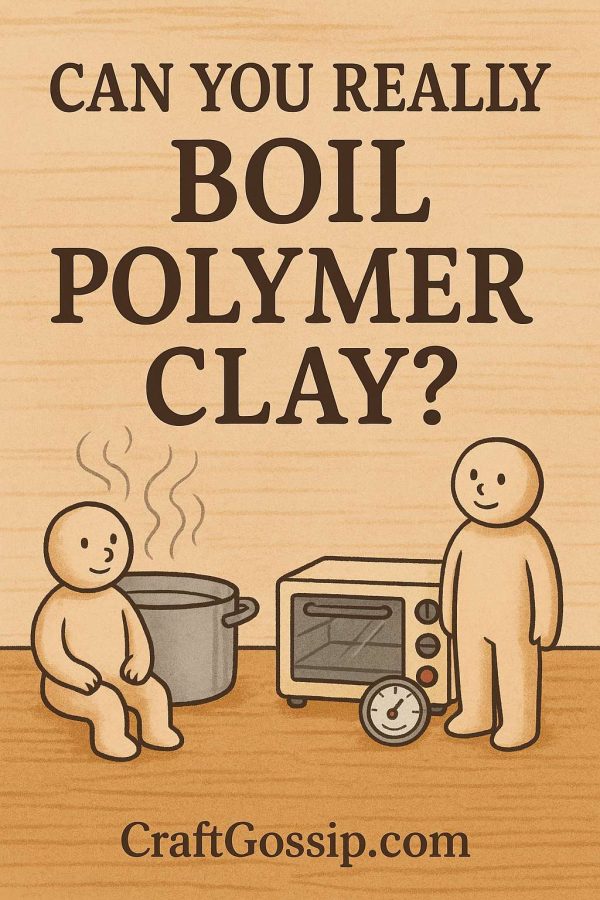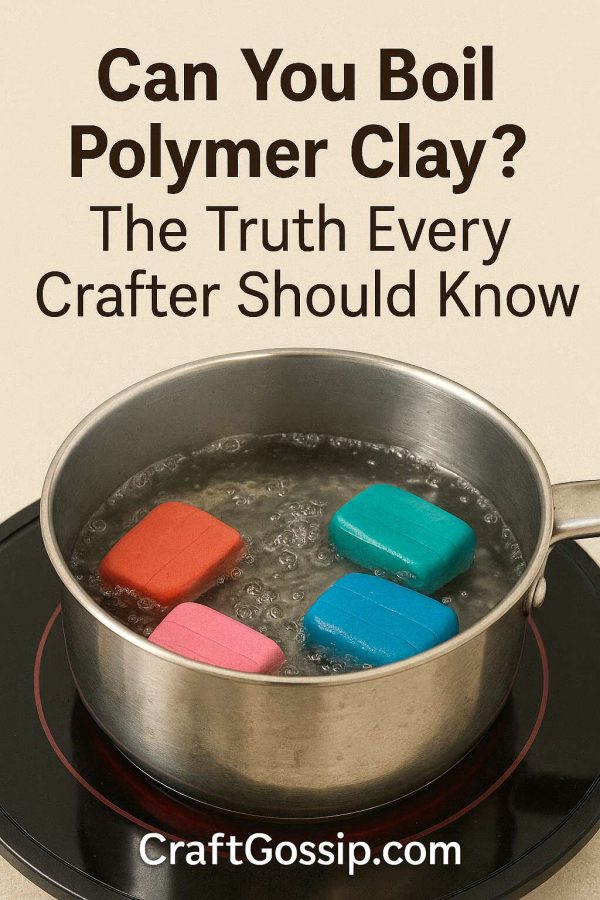
If you’ve ever fallen down a late-night Pinterest rabbit hole, you’ve probably seen someone suggest boiling polymer clay instead of baking it. At first glance, it sounds clever—no oven needed, just a pot of water and a stove. But does it really work? And more importantly, is it safe?
As someone who’s been working with clay for years (and ruined a few projects along the way), I can tell you that boiling polymer clay is one of those persistent myths that refuses to die. Let’s break it down, look at what really happens when you boil polymer clay, and explore the right ways to cure your clay projects.
Why Polymer Clay Needs Baking, Not Boiling
Polymer clay isn’t like traditional pottery clay that hardens in a kiln, nor is it like homemade playdough that dries out with air. It’s made of PVC particles and plasticizers—and those ingredients need consistent, controlled heat to fuse together.
- The magic temperature: Most brands like Sculpey, Fimo, and Premo recommend curing at 265°F–275°F (129°C–135°C).
- The timing: Bake for 15–30 minutes per ¼ inch of thickness.
- The result: When properly baked, the clay becomes strong, flexible, and durable enough to last decades.
Boiling water only reaches 212°F (100°C)—far below what polymer clay requires. That’s the first red flag.
What Really Happens When You Boil Polymer Clay
So let’s say you drop that cute little charm into boiling water. Here’s what you can expect:
- Partial curing only – The outside might harden a little, but the inside stays undercooked. This makes your clay brittle and prone to snapping.
- Surface damage – Water moves, bubbles, and churns. That constant agitation can warp details like fine textures, stamps, or sculpted lines.
- Chemical leaching – Because polymer clay contains plasticizers, immersing raw clay in water can cause it to sweat sticky residue. Not only does it weaken your clay, but it also ruins the finish.
- False confidence – A boiled piece looks firm at first, but give it a few days or weeks and you’ll see cracks, crumbles, and peeling.
Bottom line? Boiling leaves you with fragile, disappointing results.
Boiling vs Baking vs Air Dry Clay: A Quick Comparison
Here’s a handy chart you can pin or save:
| Method | Temperature | Strength & Durability | Risks | Best For |
| Boiling Polymer Clay | 212°F (100°C) | Weak, brittle, cracks easily | Warping, sticky residue, not fully cured | Not recommended |
| Baking Polymer Clay | 265–275°F (129–135°C) | Strong, flexible, long-lasting | Can scorch if overheated | Jewelry, ornaments, figurines |
| Air Dry Clay | Room temp | Light but fragile; not waterproof | Cracking if dried too fast | Kids’ crafts, décor, lightweight projects |
Where the Boiling Myth Comes From
It’s easy to see where the confusion starts:
- Cold porcelain clay (a DIY clay made from cornstarch and glue) is sometimes cooked or simmered on the stovetop.
- Air dry clays harden naturally without any heat at all.
- Pottery clay is hardened in kilns but sometimes pre-soaked or pre-conditioned in water.
Polymer clay often gets lumped in with these clays, but it plays by a completely different rulebook.
Alternatives If You Don’t Want to Use the Kitchen Oven
Some crafters hesitate to bake clay in the same oven they cook dinner in. Totally understandable! Luckily, there are safe alternatives:
1. A Dedicated Toaster Oven
A tabletop toaster oven is a crafter’s best friend. Small, cheap, and just the right size for jewelry, beads, and figurines. Just pop an oven thermometer inside to keep things accurate.
2. A Clay-Specific Oven
Some craft brands sell little ovens designed just for polymer clay. They’re not essential, but they give peace of mind if you worry about fumes in your main oven.
3. Heat Gun or Embossing Tool
These work for small flat pieces (like earrings) but require a careful hand—hold it too long and you’ll scorch the clay.
4. Skip Polymer, Choose Air Dry Clay
If you really don’t want to bake at all, switch to air dry clay. It hardens on its own (no oven required), though it won’t be as durable or waterproof as polymer clay.
Safety Tips for Baking Polymer Clay
If the oven still makes you nervous, here’s how to bake with confidence:
- Always use an oven thermometer. Most ovens run hotter or cooler than the dial suggests.
- Tent your clay. Lay a piece of foil loosely over your project to protect from scorching.
- Keep clay tools separate. Dedicate a baking tray, foil, and even a cookie sheet just for clay use.
- Don’t overbake. Follow the instructions on the package—overheating clay can darken it and release an unpleasant smell.
Done right, polymer clay is perfectly safe to cure in a home oven.
FAQs About Boiling & Baking Polymer Clay
Q: Can I boil clay jewelry like beads or pendants?
Nope! They’ll be weak, crumbly, and won’t last. Stick with baking.
Q: Is it dangerous to boil polymer clay?
It won’t explode, but it can release residue and ruin your pot. Save your cookware for cooking, not crafts.
Q: Can I microwave polymer clay?
No. Microwaving polymer clay doesn’t cure it—it just overheats it unevenly, often burning the surface while leaving the inside raw.
Q: What if I only have air dry clay?
That’s fine! Just remember it’s not the same as polymer clay. It won’t be waterproof or as strong but works beautifully for lightweight crafts.
The Verdict: Don’t Boil, Just Bake
So, can you boil polymer clay? Technically, yes—you can dunk it in a pot of water. But should you? Absolutely not. Boiling doesn’t cure it properly, leaves your creations fragile, and can ruin all the hard work you put into shaping, texturing, and designing.
If you want long-lasting jewelry, ornaments, and keepsakes, baking is the way to go. And if you’d rather avoid baking altogether, explore air dry clays or cold porcelain—clays designed for that style of crafting.
Give your clay creations the proper heat treatment they deserve, and they’ll reward you with years of beauty and strength.