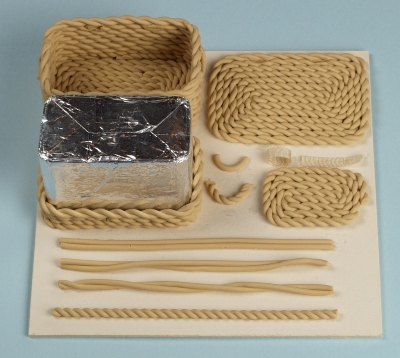
Todd’s Toys has a little treasure trove of tutorials for minis on this page including the one for the basket pictured above. Check them out!
Picture by Todd’s Toys and Miniatures
Fimo and clay tips and tutorials
Todd’s Toys has a little treasure trove of tutorials for minis on this page including the one for the basket pictured above. Check them out!
Picture by Todd’s Toys and Miniatures
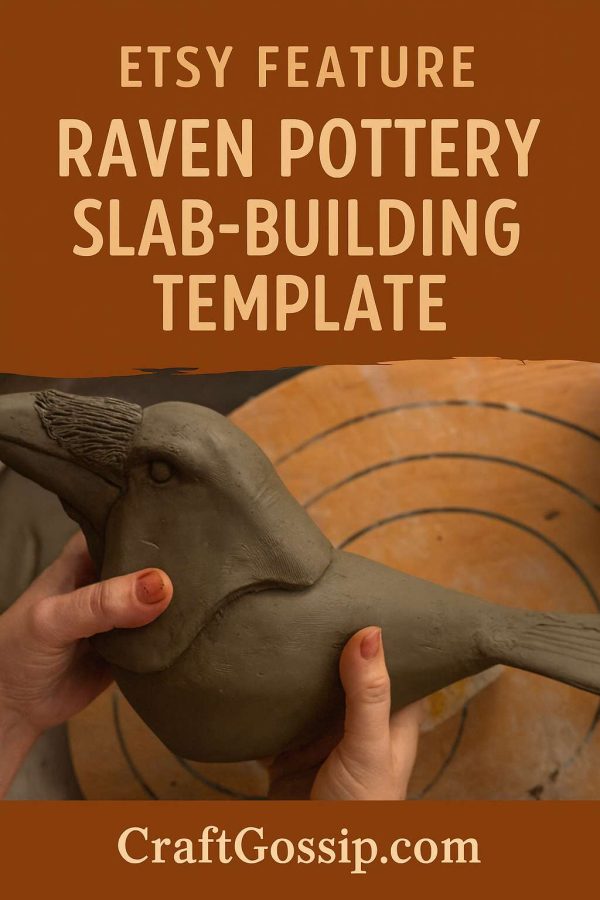
Ravens have always carried a sense of mystery and symbolism—wisdom, transformation, and even a touch of magic. So when I saw this Raven Clay Template for slab building, I knew it was one of those tools that could bring incredible personality to pottery projects. Whether you’re into rustic farmhouse vibes or something a little more mystical, this template opens the door to endless creative possibilities.
This listing provides a printable pottery template designed to help you create a striking raven form out of clay slabs. With its bold silhouette and curved detailing, the template makes it simple to cut, shape, and assemble a piece that feels sculptural, even if you’re relatively new to clay work.
Templates like this are a fantastic way to stretch your creativity without feeling overwhelmed. You get the framework of a powerful, symbolic shape, but how you finish it is entirely up to you. Whether your style leans toward folklore, fantasy, or farmhouse, this raven will find a place in your clay story.
You can grab it here: Raven Pottery Slab-Building Template on Etsy.
This post is part of my Etsy Feature series, where I spotlight creative clay tools and templates that make hand-building both approachable and inspiring. And this raven template? It’s one that’s sure to take center stage in any collection.
I love your tutorial and hope that you don’t mind that I added it to the 20 best list of polymer clay tutorials!
http://www.cascadinggems.com/blog/20-best-polymer-clay-tutorials/
It’s not my tutorial – I’ve done the same thing and featured it myself. As long as you link to the original source it’s likely fine!