There’s something quietly magical about Easter crafts that don’t feel loud or disposable. The ones you make once, pack away carefully, and pull out year after year. These Stamped Clay Bunny Ornaments with Pom-Pom Tails fall firmly into that category. They’re simple, soft, and just a little bit nostalgic — the kind of project that looks right at home on a kitchen bench with a cup of tea nearby and flour or clay dust still hanging around from earlier makes.
If you’re looking for air dry clay Easter crafts, handmade Easter ornaments, or easy clay projects for spring, these little bunnies are a beautiful place to land. No kiln, no oven, no complicated steps — just clay, stamps, and that finishing touch of a fluffy pom-pom tail that somehow makes everyone smile.
Stamped Clay Bunny Ornaments with Pom-Pom Tails
These bunny ornaments are perfect as Easter decorations, gift tags, basket fillers, or table décor. Because they’re made with air dry clay, they’re approachable even if you’ve never worked with clay before. In fact, the slight imperfections are what give them their charm.
Stamped messages make each bunny feel personal, while the neutral clay colour means they suit almost any Easter style — farmhouse, modern, minimalist, or classic.
Why Air Dry Clay Works So Well for Easter Crafts
Air dry clay is one of those materials that earns its keep, especially for seasonal crafting. It’s affordable, widely available, and incredibly forgiving. For Easter projects in particular, it’s ideal because:
- No baking or firing required
- Dries naturally at home
- Perfect for stamped text and simple shapes
- Easy to use for beginners and confident crafters alike
- Creates a soft, matte, handmade finish
If you’re building content or projects around air dry clay Easter decorations or DIY Easter ornaments, this material consistently performs well because it’s accessible and giftable.
What You’ll Need
- White air dry clay
- Rolling pin or glass jar
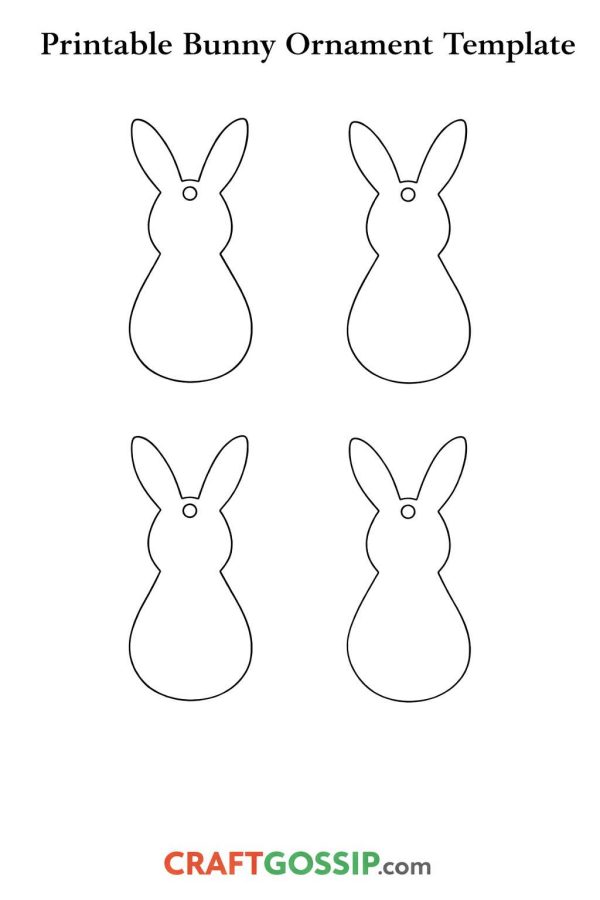
- Bunny ornament template (simple silhouette)
- Craft knife
- Alphabet stamp set
- Toothpick or skewer
- Straw or skewer for hanging holes
- Mini white pom-poms
- Strong craft glue
- Twine, jute, or string
Optional extras:
- Matte sealer
- Acrylic paint or wax for highlighting stamped letters
Step-by-Step: How to Make Stamped Clay Bunny Ornaments
Step 1: Roll Out the Clay
Knead your air dry clay until soft and smooth. Roll it out on a flat surface to around 5–6 mm thick. This thickness keeps the ornaments sturdy without feeling bulky and helps prevent warping as they dry.
Step 2: Cut the Bunny Shapes
Using your bunny template, cut out the shapes with a craft knife. Simple, rounded silhouettes work best with air dry clay and are less likely to crack during drying.
Gently smooth the edges with your fingers to soften any sharp lines.
Step 3: Add the Hanging Hole
Use a straw or skewer to create a hole near the top of one ear. Make sure it’s wide enough to thread twine through once the clay has dried.
Step 4: Stamp the Messages
Before stamping, lightly plan where your text will sit. Short phrases work best and keep the design balanced. Popular Easter messages include:
- Hoppy Easter
- Some Bunny Loves You
- Bunny Love
- Easter Wishes
Press each alphabet stamp firmly into the clay. You don’t need ink — pressing the stamps directly into the clay gives a soft, natural impression that suits the handmade look beautifully.
If a letter isn’t perfectly straight, leave it. That slightly imperfect alignment adds charm and character.
Step 5: Let the Clay Dry
Lay the bunny ornaments flat on a board or tray and allow them to air dry for 24–48 hours. Flip them gently halfway through so both sides dry evenly.
Avoid rushing this step. Slow drying helps prevent cracking and curling.
Step 6: Attach the Pom-Pom Tails
Once fully dry, glue a small white pom-pom to the lower back of each bunny. Hold it in place for a few seconds until secure.
This tiny detail is what brings the bunnies to life and makes them feel playful rather than plain.
Step 7: Add the Twine
Thread twine or jute through the hole and tie a knot. Trim the ends to your preferred length.
Your air dry clay bunny ornaments are now ready to use.
Optional Finishing Touches
- Seal with a matte spray sealer for durability
- Lightly rub paint or wax into the stamped letters and wipe away excess
- Leave plain for a minimalist, natural Easter look
White or off-white clay pairs beautifully with wood, greenery, pastel wrapping paper, and soft florals.
How to Use These Bunny Ornaments
These stamped clay bunnies are incredibly versatile and work well across many Easter setups:
- Tie onto Easter baskets
- Use as place settings at Easter lunch
- Attach to wrapped gifts or homemade treats
- Hang on an Easter branch or peg rail
- Reuse year after year as keepsake decorations
They also make lovely handmade Easter gift ideas when you want something thoughtful but not overcomplicated.
Tips for Best Results
- Keep clay thickness even for clean stamping
- Test stamp spacing on scrap clay first
- Don’t overwork the clay — less handling means fewer cracks
- Simple shapes always dry more reliably
Why This Project Is a Reader Favourite
From a crafting point of view, this project is calming, affordable, and easy to batch-make. From an SEO point of view, it naturally fits popular search terms like air dry clay Easter crafts, DIY Easter ornaments, and handmade Easter decorations.
But more than that, it creates something people genuinely want to keep.
These stamped clay bunny ornaments don’t shout for attention. They sit quietly on a hook, a basket, or a gift and do exactly what good handmade things should do — make someone smile every time they see them.