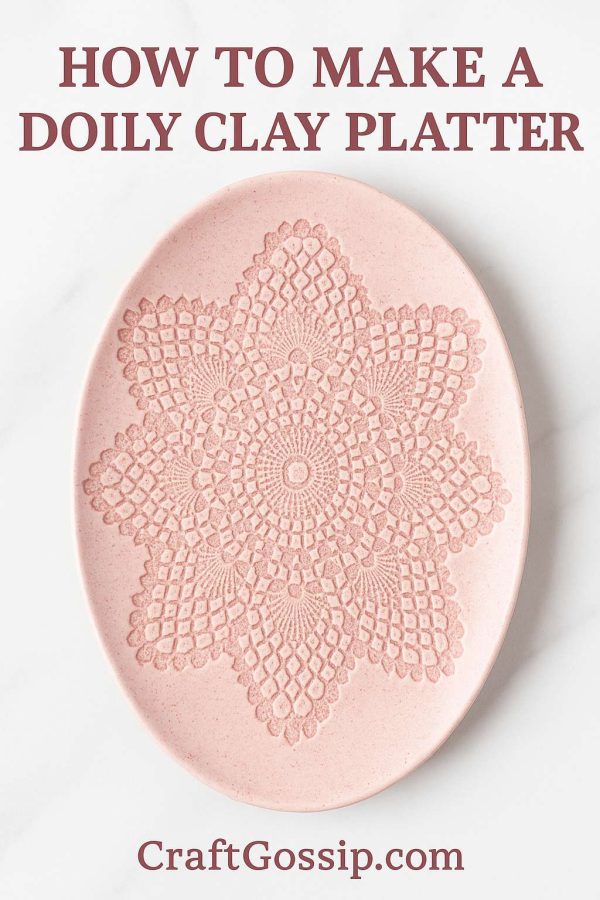
There’s something special about combining old traditions with modern design. I’ve always adored the stack of vintage doilies handed down from my grandmother, but since lace doesn’t exactly suit my home aesthetic, I started experimenting with ways to repurpose their beautiful patterns in clay. That’s how I ended up creating this doily pottery platter—a simple slab of clay transformed into a textured serving dish with the help of lace, white clay, and a soft pink speckled glaze.
The result is a handmade ceramic platter that looks both timeless and contemporary, perfect for styling on a coffee table, serving treats, or simply displaying as a piece of art.
Materials You’ll Need
- White pottery clay (stoneware or porcelain recommended)
- Rolling pin
- Crochet doily (cotton lace works best)
- Sharp knife or clay cutter
- Oval or rectangular template (a cutting board, tray, or paper template works well)
- Sponge and water
- Plastic wrap
- Kiln access (or a local pottery studio firing service)
- White glaze
- Pink speckled glaze (or white glaze with pink oxide/pigment speckles)
Step-by-Step Tutorial
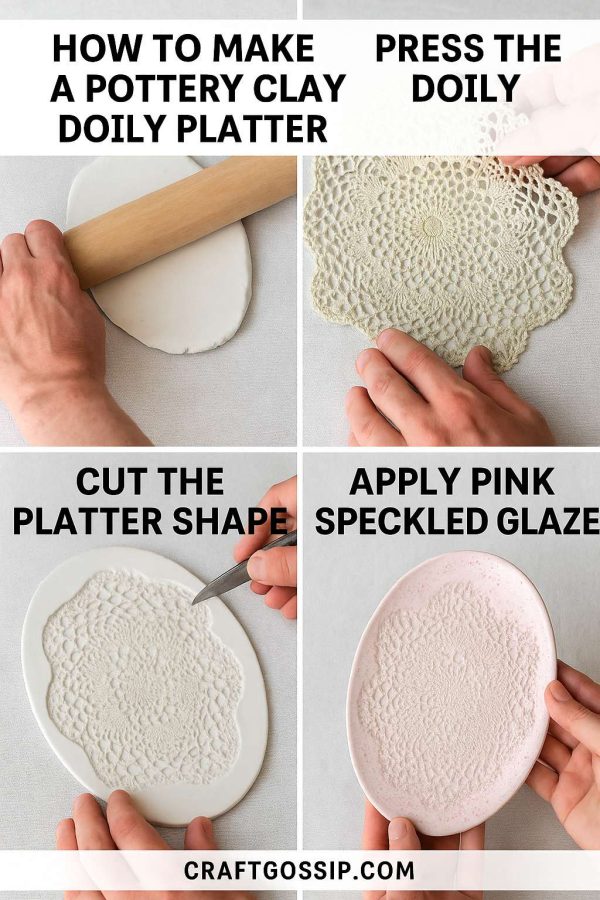
Step 1: Roll Out the Clay
Roll your clay slab to about 1/4 inch thick. Keep it even and wide enough to cut an oval platter shape.
Step 2: Press the Doily
Lay your crochet doily flat across the clay. Use the rolling pin to firmly press the pattern into the surface. Lift it carefully to reveal the intricate lace design imprinted into the clay.
Tip: Dust the doily lightly with cornstarch if it tends to stick.
Step 3: Cut the Platter Shape
Using your knife and a template, cut around the clay to form an oval platter shape. Smooth the edges with your fingers or a damp sponge.
Step 4: Lift and Shape the Platter
For a slightly raised platter, drape the clay gently over a shallow mold (like a plate or tray lined with plastic wrap). If you prefer a flat serving dish, leave it as-is on your board.
Step 5: Let It Dry
Allow the platter to dry until leather-hard. Refine the edges with a sponge, smoothing away any rough spots. Once it reaches bone dry, it’s ready for bisque firing.
Step 6: Glaze and Fire
After the first firing, apply a coat of white glaze over the entire platter. Then lightly layer on a pink speckled glaze (you can also achieve this by flicking pink oxide pigment into a clear glaze). The pink speckles add a playful, modern twist while still allowing the lace pattern to shine through. Fire again according to your glaze instructions.
Styling Your Finished Platter
This platter is both practical and beautiful. You can:
- Use it as a serving dish for cakes, cookies, or fruit.
- Style it on a coffee table with candles or trinkets.
- Display it as wall art by adding a plate hanger.
- Gift it as a keepsake—perfect for Mother’s Day, weddings, or housewarmings.
Every platter I make carries the memory of my grandmother’s doilies, but in a form that feels modern and at home with my style. The pink speckled glaze gives it a playful softness, while the lace impression keeps that touch of handmade tradition alive. It’s proof that old textiles can inspire something completely fresh when reimagined in clay.