• Home
  • Suggest A DIY
  • DIY Newsletter

Polymer Clay

Fimo and clay tips and tutorials

  • About CraftGossip
  • Our Network
    • Bath & Body Crafts
    • Candle Making Ideas
    • Crochet Ideas
    • Cross Stitch
    • Edible Crafts
    • Felting Patterns
    • Glass Art
    • Home & Garden Ideas
    • Indie Crafts
    • Jewelry Making
    • Kids Crafts
    • Knitting Patterns
    • Lesson Plans
    • Needlework
    • Party Ideas
    • Polymer Clay
    • Quilting Ideas
    • Recycled Crafts
    • Scrapbooking
    • Sewing Patterns
    • Card Making
    • DIY Weddings
    • Not Craft Ideas
  • Giveaways
  • Roundups
  • Store
  • Search

8 Polymer Clay Slab Earring Tutorials

December 21, 2020 by Shellie Wilson

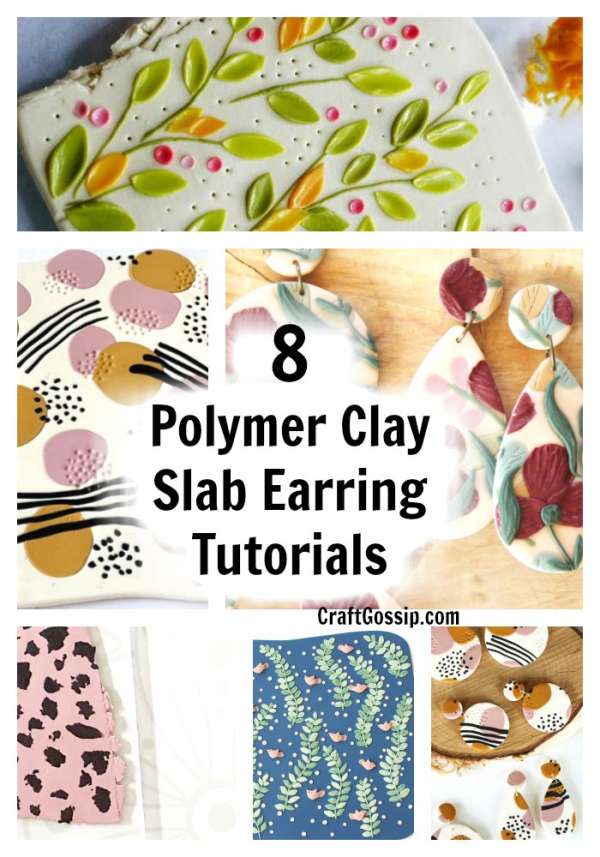
We all know about polymer clay canes but have you experimented with polymer clay slabs? It’s basically the same as a cane but imagine it as a flat lay piece of art. You create the design on a flat slab and then use cutters to cut out the shapes. It’s rather like making cookies but of course with polymer baking clay. Slabs are a great way to use up scraps of polymer or fimo clay to create your very own unique design earrings. I have to say that Slab earrings give me an 80’s kinda vibe but your earrings will depend on your slab layering abilities. These slab earring tutorials cover different abilities from dots to birds. As always you are only limited by your own creative imagination when working with baking clay.

Leopard Print Polymer Clay Earrings

How to Make Polymer Clay Slab Earrings – Crystals and Clay Jewelry DIY

VIDEO: Polymer Clay Floral Earrings | Slab Tutorial

VIDEO: Polymer Clay Swan Lake Earrings | Slab Tutorial

VIDEO: Polymer Clay Slab Earrings | Tutorial

How To Make Polymer Clay Earrings

VIDEO: Polymer Clay Birdie Earrings | Slab Tutorial

Next Polymer Clay Idea:

  • How To Make An Air Dry Clay Paint Palette With…
«
»

Have you read?

Clay Too Sticky? Too Crumbly? Try These Fool-Proof Polymer Clay Fixes

If you’ve ever cracked open a fresh block of Fimo or Sculpey, only to have it glue itself to your hands—or worse, crumble apart when you try to roll it—you know how frustrating polymer clay can be. The good news? These problems are normal and super easy to fix once you know the tricks.

I’ve been making polymer clay jewelry and little trinkets for years, and trust me—sticky clay and crumbly clay are just part of the learning curve. Let’s dive into why it happens and how to get your clay back to that perfect, workable consistency.

Why Is My Polymer Clay Too Sticky?

Polymer clay gets sticky when:

  • It’s too warm – Your hands or the room temperature can soften clay fast.

  • It’s over-conditioned – Kneading for too long breaks the clay down.

  • It’s a soft brand or fresh batch – Some formulas, like Fimo Soft or Sculpey III, naturally feel tackier than others.

Fool-Proof Fixes for Sticky Polymer Clay

  1. Chill it: Pop your clay in the fridge for 10–15 minutes. A quick cool-down makes it firmer and easier to handle.

  2. Work on glass, ceramic, or tile: These stay cooler than wood or plastic surfaces, helping clay keep its shape.

  3. Use parchment or wax paper: Sandwich clay between sheets when rolling to prevent sticking.

  4. Powder trick: Dust your hands or tools with a tiny bit of cornstarch. Wipe excess off before baking.

  5. Take breaks: If your hands heat the clay too much, set it aside for a few minutes.

Why Is My Polymer Clay Too Crumbly?

Crumbly clay is usually dried out or under-conditioned. It can happen with older clay, clay that’s been stored badly, or some firmer brands like Fimo Professional.

Fool-Proof Fixes for Crumbly Polymer Clay

  1. Condition properly: Run clay through a pasta machine or roll/knead until it starts to warm and smooth out.

  2. Add softener: Use a drop of clay softener (like Sculpey Clay Softener or Fimo Mix Quick) and knead it in.

  3. Mix with softer clay: Blend a crumbly block with a softer polymer clay to balance the texture.

  4. Warm it up: Place clay in a zip bag and tuck it in your pocket for a few minutes before conditioning.

  5. Avoid water: Unlike air dry clay, polymer clay should never be “rehydrated” with water—it weakens the formula.

Preventing Polymer Clay Problems

Keeping your clay at the right consistency means less fixing and more creating. Here’s how to prevent issues in the first place:

  • Store clay in airtight containers away from direct sunlight and heat.

  • Wrap leftovers tightly in plastic wrap before storing in the original package.

  • Keep a pasta machine handy for quick, even conditioning.

  • Try clay storage by brand – separate Fimo Soft, Premo, and Sculpey to keep textures predictable.

  • Test your clay before a big project so you can soften or chill it as needed.

Polymer clay can be fussy, but it’s never a lost cause. If your clay is sticky, cool it down and keep your work surface non-stick. If it’s crumbly, condition it properly and add a little softener. These fixes take just a few minutes and can save you from tossing out perfectly good clay.

I always keep a little stash of “rescue tools”: cornstarch, clay softener, and some glass tiles to work on. With those on hand, I can take any block of polymer clay—whether it’s Fimo, Premo, or Sculpey—and make it project-ready in no time.

So the next time your polymer clay feels like a disaster, remember: sticky or crumbly, it’s fixable!

Categories

air dry clay animals Artist Spotlight Christmas Clay Canes Clay Charms Craft Inspirations DIY Clay Tutorials and Patterns earrings Freebies halloween Inspiration necklace Plates, Bowls & Platters Polymer Clay Polymer Clay - Techniques Polymer Clay - Tutorials Polymer Clay Community Tips/Tools valentine's day

RSS More Articles

  • Book Review: Better Homes and Gardens Flea Market Decorating
  • DIY Backyard Water Play Ideas To Keep Kids Cool All Summer
  • Book Review Wednesday: The Complete Guide to Trinket Dishes for Beginners
  • How to Embroider on Canvas Shoes for a Custom Look
  • 12 Unique Borders for Scrapbook Layouts
  • Book Review: Wild Your World
  • Knit a Stunning Bestiary Scarf
  • Quick Quilting Projects for the 4th of July
  • Samplers to Cross Stitch for the Fourth of July
  • DIY Flag Banner for 4th of July Decorating

Copyright © 2026 · CraftGossip | Start Here | Contact Us | Link to Us | Your Editors | Privacy and affiliate policy