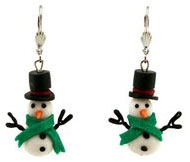
 Okay, so I’m a bit of a snowman freak. They are just so cute, I can’t help it! Here is another easy as Christmas pie tutorial on making these adorable little snowy folks.Â
[tags]polymer clay, snowmen, holiday gifts, christmas crafts[/tags]
Fimo and clay tips and tutorials
Okay, so I’m a bit of a snowman freak. They are just so cute, I can’t help it! Here is another easy as Christmas pie tutorial on making these adorable little snowy folks.Â
[tags]polymer clay, snowmen, holiday gifts, christmas crafts[/tags]
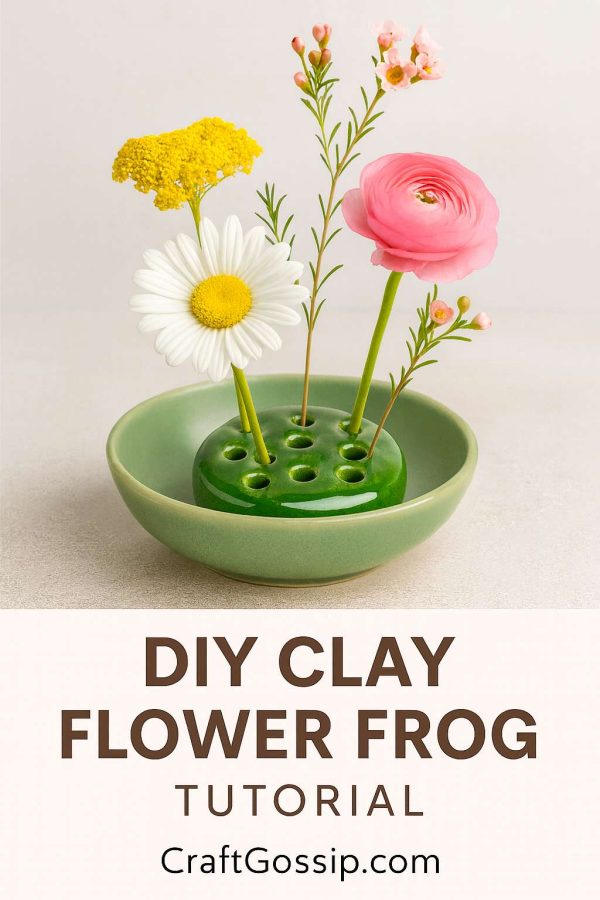
If you’ve ever struggled to get your flowers to stand just right in a vase, let me introduce you to one of the most charming old-fashioned tools around: the flower frog. Traditionally made from metal or glass, a flower frog is simply a base with holes that keeps stems in place so you can create balanced, natural arrangements without fussing. Today, we’re giving this vintage idea a modern twist by making a clay flower frog with our own hands.
This project is wonderfully simple, yet it creates something you’ll use again and again – especially if you love bringing fresh blooms inside from the garden. It’s also a fantastic beginner-friendly clay project that gives you a chance to practice shaping and smoothing without needing advanced pottery skills.
Wedge your clay (fancy potter’s word for kneading out the air bubbles) until smooth. Roll it out to about 1 inch thick – thick enough that your holes won’t weaken the structure.
Using a cookie cutter, cup, or template, cut out a circle or oval about 3–4 inches across. This will form the base of your flower frog. Smooth the edges with a damp sponge.
Use a skewer, chopstick, or needle tool to pierce holes across the surface. Space them evenly but not too close to the edges. Aim for around 6–10 holes, depending on the size of your frog. Make sure the holes go all the way through so stems can slide in easily.
Dip your tool in water and smooth around each hole to prevent cracking later. Take your time here—neat holes are what make your frog functional and pretty.
Place your finished frog at the bottom of a shallow bowl or vase, add water, and start threading flower stems through the holes. The frog will hold them upright and let you create that lush, organic look without fuss. For a more rustic style, leave the clay unglazed (just make sure it’s still sealed if you’ll be adding water).
Not only do you get a handmade, functional tool, but you’re also keeping alive a vintage floral tradition. These little clay flower frogs make beautiful gifts, especially paired with a thrifted vase and a bunch of fresh-picked blooms.