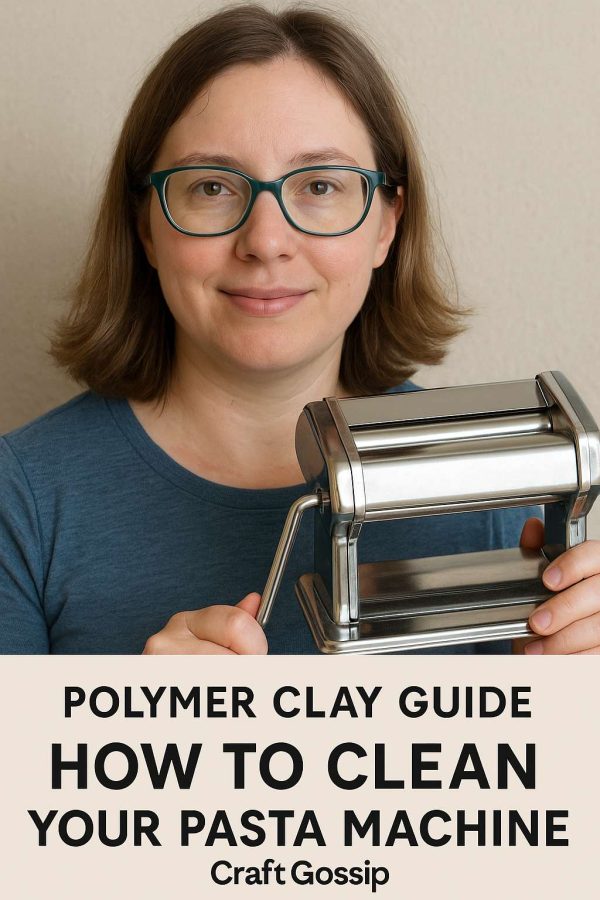
If you’ve ever worked with polymer clay, you know just how quickly your tools can get messy—especially your pasta machine. While it’s tempting to put off cleaning, eventually the build-up becomes impossible to ignore. Colors start intermixing, smears of yesterday’s clay appear in today’s project, and white clay suddenly doesn’t look so white anymore.
That’s when you realize: it’s time to clean your pasta machine.
The good news? With the right tools, a little patience, and a few tricks, cleaning your pasta machine doesn’t have to be painful. Below, I’ll walk you through step-by-step instructions, essential tools, and pro tips to keep your clay machine spotless and working like new.
Why Cleaning Your Pasta Machine Matters
Polymer clay is soft and sticky by nature. As you crank it through your pasta machine, tiny bits of clay cling to the rollers and blades. Over time, those leftovers:
- Mix into future projects, causing color contamination.
- Leave streaks, especially on white or light-colored clay.
- Make the machine harder to turn.
- Eventually shorten the life of your pasta machine.
Whether you use your pasta machine daily or only for big clay projects, regular cleaning is the key to smooth, frustration-free crafting.
Essential Tools for Cleaning a Polymer Clay Pasta Machine
You don’t need anything fancy or expensive—just a few everyday items:
- Baby wipes – Gentle, effective, and inexpensive for wiping away clay residue.
- Rubbing alcohol wipes – Perfect for removing stubborn clay and sticky build-up.
- Large makeup brush or pastry brush – Great for dusting crumbs from hard-to-reach spots.
- Toothpicks or skewers – Ideal for poking out small bits of clay.
- Keyboard vacuum (optional) – Helps suck up dust and clay crumbs around the machine.
Step 1: Dry Clean First
Before diving in with wipes, start with a dry brush (a pastry brush or large makeup brush). Use it to sweep away crumbs and dried bits of clay from:
- The underside of your pasta machine.
- Around the blades.
- Inside crevices where clay collects.
If you have a mini keyboard vacuum, this is also the perfect time to use it. A quick vacuum helps prevent clay crumbs from spreading further into the machine.
Step 2: Take Your Pasta Machine Apart
This is the part most crafters dread—but it’s worth it. Taking apart your pasta machine allows you to really get into the rollers and blades where clay likes to hide.
Warning: Taking a pasta machine apart is easy. Putting it back together can be tricky. Keep track of screws and pieces, and take photos as you go if you’re nervous about reassembly.
Step 3: Wipe with Baby Wipes
Start by giving each section a thorough clean with baby wipes. These are cost-effective for removing the bulk of the clay without using up your alcohol wipes.
- Wipe down the rollers, gears, and blade edges.
- Use toothpicks to push clay out of tight spaces.
- Be gentle—don’t force crumbs deeper into the machine.
Step 4: Finish with Rubbing Alcohol Wipes
Once the majority of residue is gone, switch to alcohol wipes for a deep clean. These will dissolve sticky clay and sanitize the metal.
- Pay special attention to the blades and rollers where build-up is heaviest.
- Flip each piece over and clean from multiple angles—sometimes residue is hidden on the underside.
- Allow all parts to air dry completely before reassembly.
Step 5: Reassemble and Test
Once everything is clean and dry, carefully reassemble your pasta machine. Give it a few test cranks with scrap clay to check that no residue is left behind.
Pro Tips for Easier Pasta Machine Cleaning
- Keep two pasta machines: One for dark clay, one for light clay. This reduces how often you’ll need deep cleans.
- Clean regularly: A quick wipe-down after every few uses prevents major build-up.
- Use scrap clay runs: Run a piece of waste clay through after switching colors to pick up leftover residue.
- Store covered: Keep your pasta machine covered when not in use to prevent dust and debris from settling inside.
Cleaning your pasta machine may feel tedious, but it’s an essential part of working with polymer clay. By using baby wipes, alcohol wipes, and a few simple tools, you’ll keep your machine in top shape—saving time, clay, and frustration in the long run.
Think of it as part of your creative process: a clean pasta machine means smoother sheets of clay, true colors, and fewer crafting headaches.
So next time you notice smears or color contamination, grab those wipes and give your pasta machine the TLC it deserves.


