• Home
  • Suggest A DIY
  • DIY Newsletter

Polymer Clay

Fimo and clay tips and tutorials

  • About CraftGossip
  • Our Network
    • Bath & Body Crafts
    • Candle Making Ideas
    • Crochet Ideas
    • Cross Stitch
    • Edible Crafts
    • Felting Patterns
    • Glass Art
    • Home & Garden Ideas
    • Indie Crafts
    • Jewelry Making
    • Kids Crafts
    • Knitting Patterns
    • Lesson Plans
    • Needlework
    • Party Ideas
    • Polymer Clay
    • Quilting Ideas
    • Recycled Crafts
    • Scrapbooking
    • Sewing Patterns
    • Card Making
    • DIY Weddings
    • Not Craft Ideas
  • Giveaways
  • Roundups
  • Store
  • Search

How To Make A Milk Mache Molding Compound

June 3, 2026 by Shellie Wilson Leave a Comment

There are some craft projects that feel like they belong on a rainy afternoon kitchen table, and this Milk Mache Molding Compound is exactly one of them. It is part craft, part science experiment, and part “wait… did we just turn milk into something solid?”

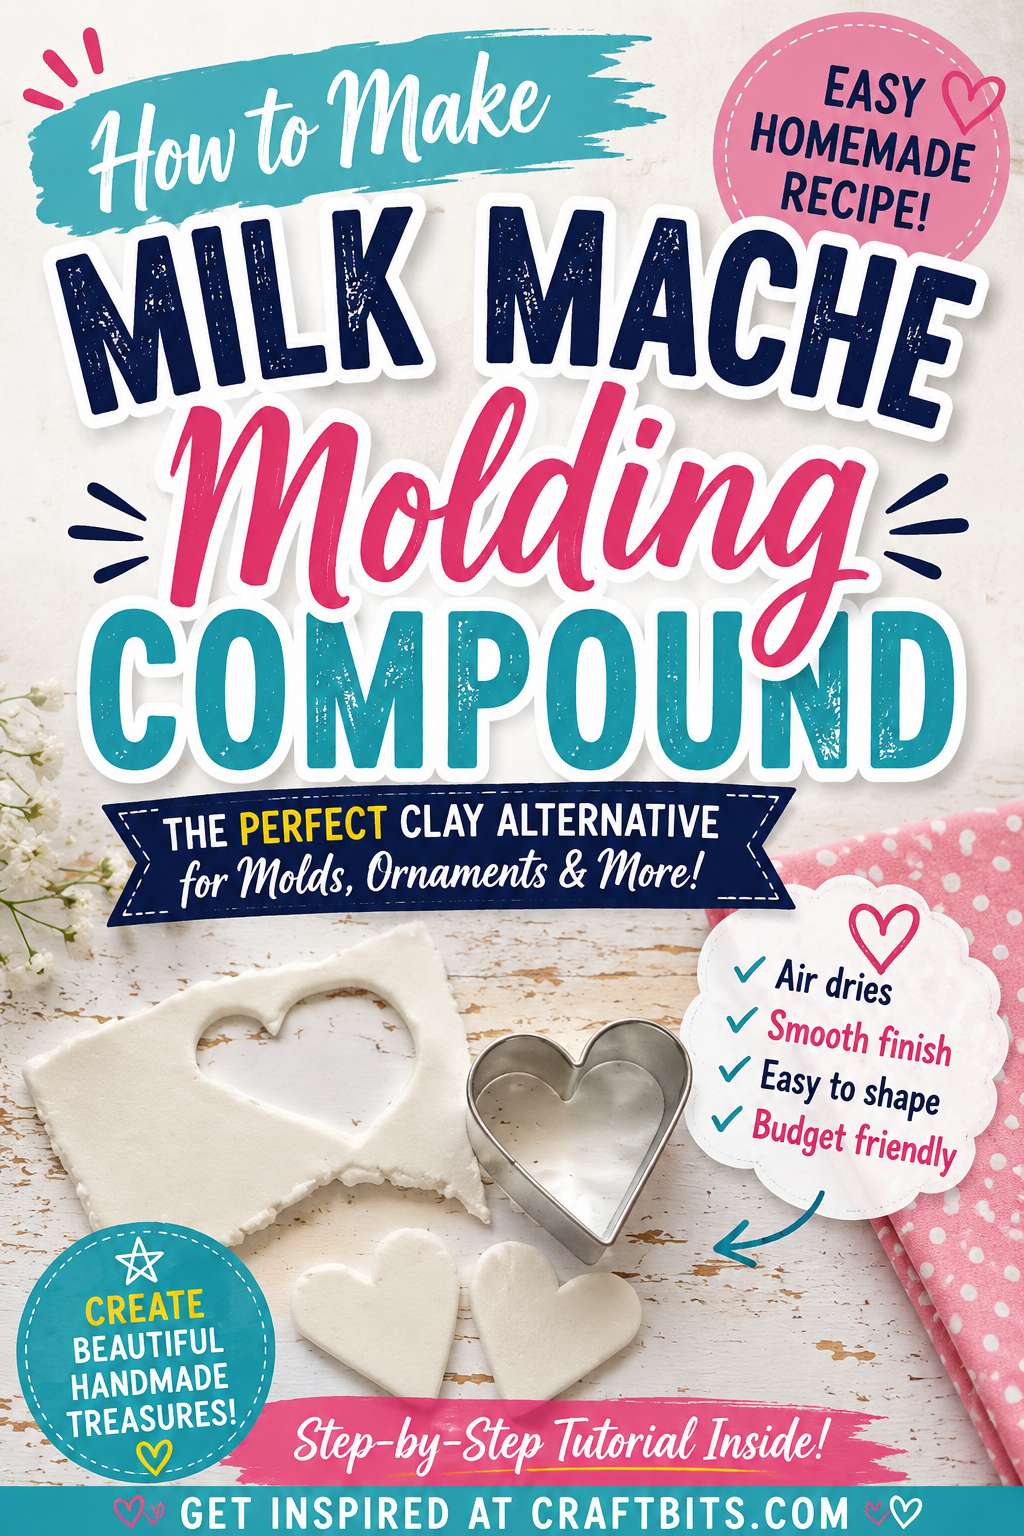
This clever little project from CraftBits shows you how to make a simple homemade molding compound using just milk and vinegar. The idea is wonderfully old-school: when the vinegar reacts with the milk, it separates into curds and liquid, leaving you with a soft mixture that can be pressed, shaped, and dried into a hard, stone-like material.

It’s a lovely one to try with kids, especially if you enjoy hands-on STEM-style crafts that do not require a trolley full of supplies. You can use the finished compound to make small charms, beads, ornaments, rustic tags, or simple molded shapes. Just keep the pieces small and thin, as this is not really the sort of compound you would use for large sculptures or anything that needs to be perfectly smooth.

What I like most about this project is how accessible it is. Most of us already have milk, vinegar, a bowl, and paper towel in the kitchen, which makes it a brilliant last-minute craft activity. It also has that slightly magical quality children love — one minute it is liquid, the next it is turning into a moldable material.

A couple of tips before you try it: use whole milk if you can, as it tends to give a better result than skim or semi-skimmed milk. White vinegar is also the best choice, as darker vinegars may affect the colour and texture. And don’t rush the draining stage. If the mixture is too wet, it will be soggy and hard to shape; if it is too dry, it may crumble.

This would be a fun companion activity for our other kids craft ideas, especially if you are looking for something simple, inexpensive, and a little bit educational. It also fits nicely with home crafts and handmade gift embellishments if you want to turn your dried shapes into tags or decorations.

Would I call this a polished, professional clay substitute? No. Would I call it a wonderfully curious, messy, memorable craft experiment? Absolutely.

If you enjoy homemade craft supplies, kitchen-table experiments, or easy projects that make children ask “how did that happen?”, this Milk Mache Molding Compound is well worth a try.

You can find the full project instructions here: Milk Mache Molding Compound

Next Polymer Clay Idea:

  • How To Make An Air Dry Clay Paint Palette With…
«
»

Have you read?

Clay Too Sticky? Too Crumbly? Try These Fool-Proof Polymer Clay Fixes

If you’ve ever cracked open a fresh block of Fimo or Sculpey, only to have it glue itself to your hands—or worse, crumble apart when you try to roll it—you know how frustrating polymer clay can be. The good news? These problems are normal and super easy to fix once you know the tricks.

I’ve been making polymer clay jewelry and little trinkets for years, and trust me—sticky clay and crumbly clay are just part of the learning curve. Let’s dive into why it happens and how to get your clay back to that perfect, workable consistency.

Why Is My Polymer Clay Too Sticky?

Polymer clay gets sticky when:

  • It’s too warm – Your hands or the room temperature can soften clay fast.

  • It’s over-conditioned – Kneading for too long breaks the clay down.

  • It’s a soft brand or fresh batch – Some formulas, like Fimo Soft or Sculpey III, naturally feel tackier than others.

Fool-Proof Fixes for Sticky Polymer Clay

  1. Chill it: Pop your clay in the fridge for 10–15 minutes. A quick cool-down makes it firmer and easier to handle.

  2. Work on glass, ceramic, or tile: These stay cooler than wood or plastic surfaces, helping clay keep its shape.

  3. Use parchment or wax paper: Sandwich clay between sheets when rolling to prevent sticking.

  4. Powder trick: Dust your hands or tools with a tiny bit of cornstarch. Wipe excess off before baking.

  5. Take breaks: If your hands heat the clay too much, set it aside for a few minutes.

Why Is My Polymer Clay Too Crumbly?

Crumbly clay is usually dried out or under-conditioned. It can happen with older clay, clay that’s been stored badly, or some firmer brands like Fimo Professional.

Fool-Proof Fixes for Crumbly Polymer Clay

  1. Condition properly: Run clay through a pasta machine or roll/knead until it starts to warm and smooth out.

  2. Add softener: Use a drop of clay softener (like Sculpey Clay Softener or Fimo Mix Quick) and knead it in.

  3. Mix with softer clay: Blend a crumbly block with a softer polymer clay to balance the texture.

  4. Warm it up: Place clay in a zip bag and tuck it in your pocket for a few minutes before conditioning.

  5. Avoid water: Unlike air dry clay, polymer clay should never be “rehydrated” with water—it weakens the formula.

Preventing Polymer Clay Problems

Keeping your clay at the right consistency means less fixing and more creating. Here’s how to prevent issues in the first place:

  • Store clay in airtight containers away from direct sunlight and heat.

  • Wrap leftovers tightly in plastic wrap before storing in the original package.

  • Keep a pasta machine handy for quick, even conditioning.

  • Try clay storage by brand – separate Fimo Soft, Premo, and Sculpey to keep textures predictable.

  • Test your clay before a big project so you can soften or chill it as needed.

Polymer clay can be fussy, but it’s never a lost cause. If your clay is sticky, cool it down and keep your work surface non-stick. If it’s crumbly, condition it properly and add a little softener. These fixes take just a few minutes and can save you from tossing out perfectly good clay.

I always keep a little stash of “rescue tools”: cornstarch, clay softener, and some glass tiles to work on. With those on hand, I can take any block of polymer clay—whether it’s Fimo, Premo, or Sculpey—and make it project-ready in no time.

So the next time your polymer clay feels like a disaster, remember: sticky or crumbly, it’s fixable!

Leave a Reply

Your email address will not be published. Required fields are marked *

Categories

air dry clay animals Artist Spotlight Christmas Clay Canes Clay Charms Craft Inspirations DIY Clay Tutorials and Patterns earrings Freebies halloween Inspiration necklace Plates, Bowls & Platters Polymer Clay Polymer Clay - Techniques Polymer Clay - Tutorials Polymer Clay Community Tips/Tools valentine's day

RSS More Articles

  • How to Travel with Cross Stitch
  • AITA for Copying a Sewing Trend I Saw on Pinterest (But Making It Myself)?
  • 12 Rosé Ninja Slushies That Will Make You Forget Every Other Summer Drink Ever
  • Teach the Teacher Printable Worksheets: A Fun End-of-Year Student Lesson Activity
  • Zero Cost Indoor Garden for Beginners Review: Grow Herbs and Vegetables at Home Without Spending a Fortune
  • Make Your Own Nourishing Stretch Mark Oil
  • FREE Die Cut Hummingbird Shaker Card
  • Book Review: Better Homes and Gardens Flea Market Decorating
  • DIY Backyard Water Play Ideas To Keep Kids Cool All Summer
  • Book Review Wednesday: The Complete Guide to Trinket Dishes for Beginners

Pick Your Blog

  • Sewing
  • Knitting
  • Quilting
  • Crochet
  • Home & Garden
  • Recycled Crafts
  • Scrapbooking
  • Card Making
  • Polymer Clay
  • Cross-Stitch
  • Edible Crafts
  • Felting
  • Glass Art
  • Indie Crafts
  • Kids Crafts
  • Jewelry Making
  • Lesson Plans
  • Needlework
  • Bath & Body
  • Party Ideas
  • Candle Making
  • DIY Weddings
  • Not Craft
  • Free Craft Projects

Copyright © 2026 · CraftGossip | Start Here | Contact Us | Link to Us | Your Editors | Privacy and affiliate policy