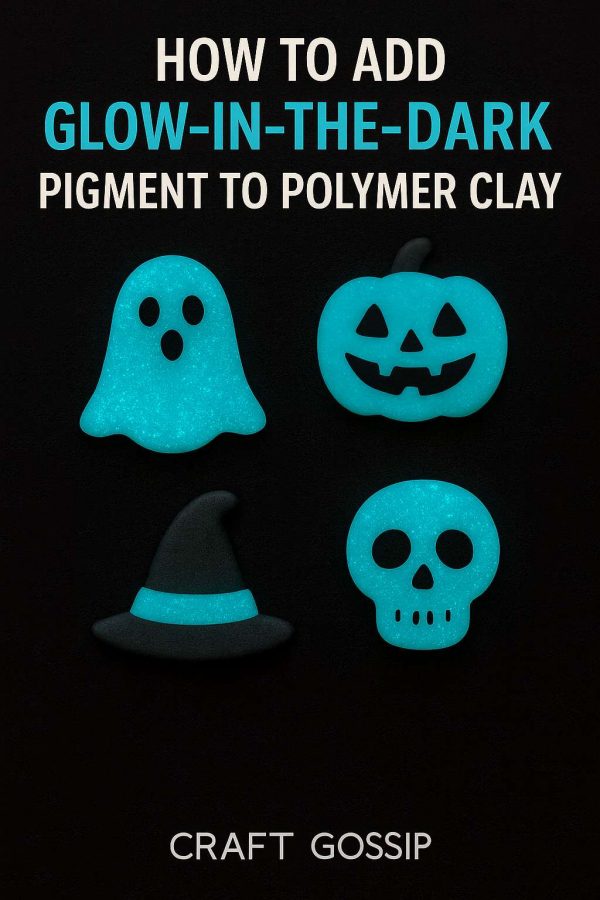
If you’ve ever wanted your polymer clay earrings or charms to literally light up the night, glow-in-the-dark pigments are the secret ingredient. Adding them to clay isn’t difficult, but there are some tricks to getting the best glow, the brightest finish, and a professional look that actually lasts.
I’ve worked with glow powders and glow clays on plenty of projects—from kids’ Halloween crafts to statement jewelry pieces—and let me tell you: not all glow pigments are created equal. Some glow for hours, others fade after a minute, and how you mix them into your clay makes a huge difference.
Let’s dive into how to use glow pigment with polymer clay, plus a few creative project ideas you’ll want to try.
Choosing the Right Glow Pigment
Not all glow powders are the same. The brightness, glow time, and even color vary depending on the pigment type.
- Phosphorescent powders: These are the most common. They absorb UV or natural light and release it slowly, creating that glowing effect. Look for strontium aluminate–based powders (they glow longer and brighter than zinc sulfide powders).
- Color options: Green and aqua are the brightest and longest-lasting. Pinks, purples, and oranges are fun but fade faster.
- Particle size: Fine powders blend smoothly into clay, while larger particle pigments give a speckled, starry look.
How to Mix Glow Pigment into Polymer Clay
There are two main methods for adding glow pigment to your clay:
1. Mixing Powder into Clay
- Condition your polymer clay until it’s soft and pliable.
- Sprinkle a small amount of glow powder into the clay (start with about 1 part pigment to 4 parts clay).
- Knead and fold until fully blended.
- For extra brightness, add more pigment—but too much can make your clay crumbly.
2. Dusting or Painting Pigment on the Surface
- Roll out your clay sheet or shape your earrings.
- Brush pigment powder onto the surface using a dry brush.
- For a stronger effect, mix the powder with a clear liquid clay and paint it on.
- This creates a glowing finish rather than an all-over glow.
Baking Glow-in-the-Dark Polymer Clay
- Bake according to your clay brand’s instructions (usually 260°F–275°F / 125°C–135°C).
- The pigment won’t burn out—it’s heat stable.
- For surface applications, add a thin layer of liquid clay or a sealer before baking to keep powder from rubbing off.
Sealing and Finishing
Once baked and cooled:
- Sand and buff as usual if the glow pigment is fully mixed in.
- If the glow pigment is brushed on the surface, apply a thin coat of clear varnish, resin, or UV resin to lock it in.
- A glossy finish makes the glow appear brighter, while a matte finish gives a softer effect.
Project Ideas for Glow-in-the-Dark Polymer Clay
- Glow-in-the-Dark Earrings – Simple studs or hoop charms that charge under sunlight and glow during evening dinners.
- Spooky Halloween Jewelry – Bats, pumpkins, and ghosts that shine when the lights go out.
- Kids’ Room Stars – Cut star shapes, bake, and glue onto walls or mobiles.
- Garden Markers – Clay tags with glow pigment to find your plants after dark.
- Nighttime Keychains – Never lose your keys again with a glowing charm.
Tips for the Best Glow
- Charge your finished pieces under bright sunlight or a UV lamp for the longest glow.
- Store pigment powders in airtight containers; moisture can ruin them.
- If you want a subtle effect, mix pigment with translucent clay. For bold neon-like glow, pack in more pigment.
Adding glow pigment to polymer clay is one of those small tricks that turns ordinary jewelry or crafts into conversation starters. Whether you want a subtle shimmer or a full-on “where’s the flashlight?” glow, it’s all about the right pigment, mixing method, and finish.
So go ahead—make your earrings, pendants, or charms shine, literally!