
One of my favourite gemstones is larimar, a lovely sea blue that looks like shallow ocean water. Ludmilla Bakulina, a talented polymer clay artist with a strong YouTube presence has her take on a faux version in this video.
Fimo and clay tips and tutorials
One of my favourite gemstones is larimar, a lovely sea blue that looks like shallow ocean water. Ludmilla Bakulina, a talented polymer clay artist with a strong YouTube presence has her take on a faux version in this video.
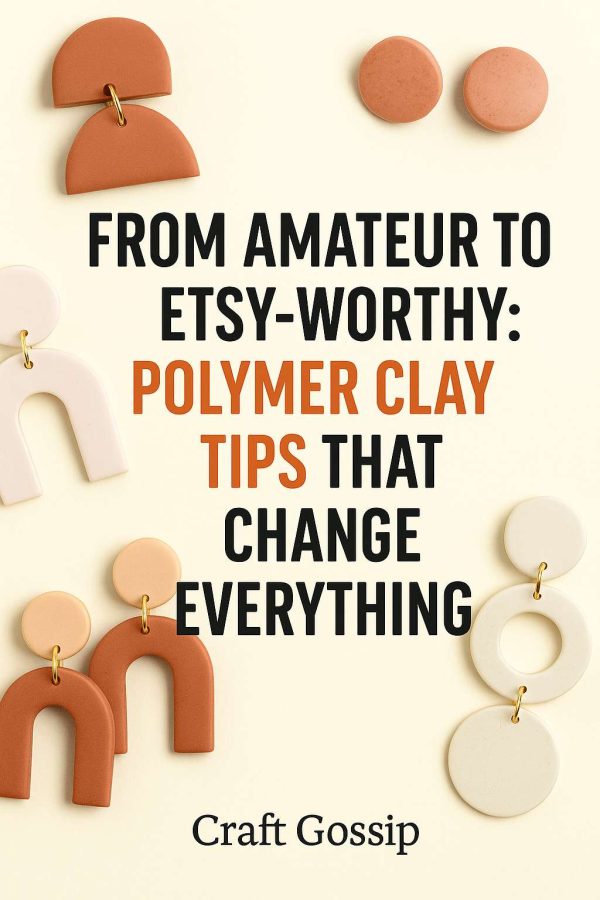
Polymer clay jewelry is everywhere — those lightweight statement earrings, modern studs, and bold dangles that pop up on Pinterest and Etsy like confetti. But if you’ve ever sat at your kitchen table with a block of clay, only to end up with cracked, uneven, or slightly sad-looking earrings… you’re not alone.
I’ve been there. My early earrings looked like something my kids might have made in preschool art class (love them, but not exactly “Etsy chic”). The good news? With the right tricks, you can go from clumsy beginner to professional-level crafter in no time. Here’s how to take your polymer clay projects from amateur to Etsy-worthy.
The number one game-changer? The clay itself. Bargain packs from the dollar store or craft kits often bake brittle and weak.
Best Picks:
Pro tip: Buy a few sample colors and test before stocking up. The difference in quality is night and day.
Conditioning clay is more than just warming it up. It blends the particles and prevents cracks during baking. If your clay snaps or crumbles, it probably wasn’t conditioned enough.
Quick Hack: Run your clay through a pasta machine (dedicated to crafts, not spaghetti!) 10–15 times until it’s smooth and even. Your wrists will thank you.
Too thick, and your earrings look chunky. Too thin, and they break. The sweet spot? About 2–3mm.
Use acrylic guide sticks, playing cards, or wooden dowels to keep your slab even. Professional makers swear by this little step, and it truly changes the finish.
Blunt cookie cutters or makeshift tools leave ragged edges that scream “homemade.” Sharp polymer cutters give crisp, repeatable shapes.
Upgrade your toolkit: Look for stainless steel cutters or 3D-printed sets designed for clay artists. And remember to clean between cuts — nothing worse than black crumbs in a pastel slab.
This is where most beginners stumble. Uneven ovens mean cracked, scorched, or bendy earrings.
Fix It:
This step is the difference between “cute craft project” and “professional boutique jewelry.” Raw edges look unfinished.
After baking:
A common beginner mistake? Supergluing posts to the back. They’ll eventually pop off.
Pro Technique: Embed posts in raw clay with a dab of liquid polymer clay, then bake. For dangles, drill neat holes and use sturdy jump rings. This tiny detail makes earrings last.
Polymer clay is a lint magnet. Tiny specks, pet hair, and dust sneak in and ruin pastel slabs.
Quick Fixes:
Want your earrings to look Etsy-worthy? Present them like they belong there. Pretty earring cards, polished photos, and clean packaging make all the difference.
Every polymer clay maker has a “what was I thinking?” box of early earrings. Don’t be discouraged. Each batch gets better. The real secret? Keep practicing, keep sanding, keep learning.
Before you know it, your friends will be asking if you bought those earrings — and you’ll get to grin and say, “Nope, I made them.” That’s when you know you’ve gone from amateur to Etsy-worthy.