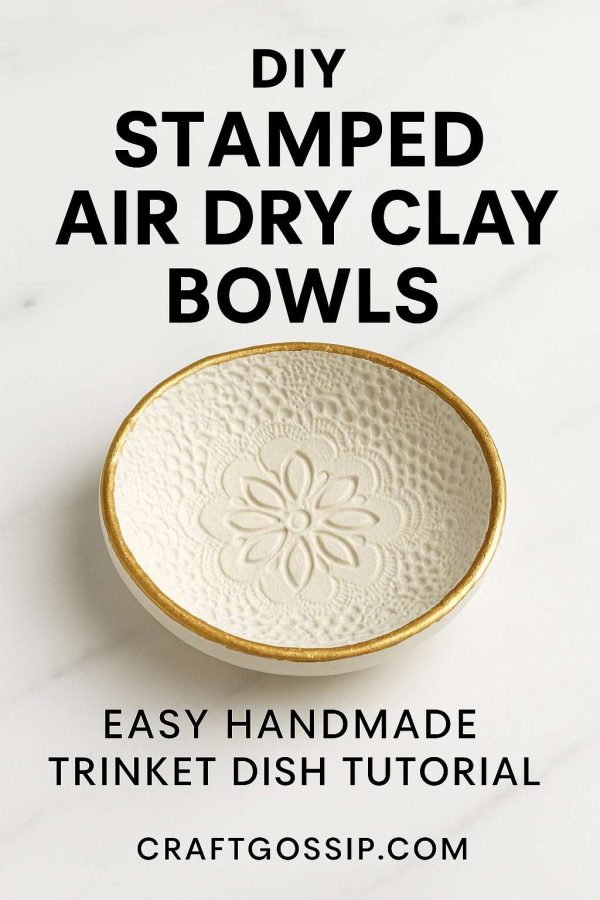
There’s something so satisfying about shaping a lump of clay with your own hands and turning it into something beautiful and useful. Air dry clay bowls are one of my go-to beginner clay projects—they look like something you’d find in a boutique shop, but they’re incredibly simple (and affordable!) to make at home.
These little stamped clay dishes are perfect for:
- Jewelry bowls for rings and earrings
- Trinket holders for keys and keepsakes
- Handmade gifts for Mother’s Day, Christmas, or birthdays
- Decorative accents for coffee tables or nightstands
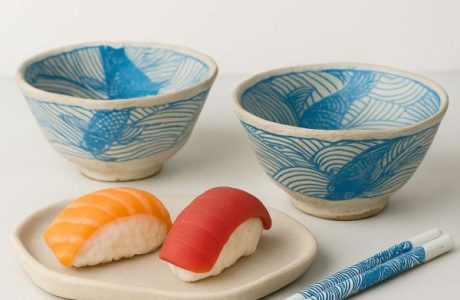
The magic comes from using stamps, lace, or even leaves to press designs right into the clay before it hardens. The result? A rustic, artisan-style bowl with texture and personality that no store-bought piece can match.
What You’ll Need
- Air dry clay (white or terracotta work beautifully)
- Rolling pin or smooth bottle
- Round objects to trace (small bowls, lids, or cookie cutters)
- Rubber stamps, lace, doilies, or pressed leaves for texture
- Acrylic paint or metallic paint pens
- Paintbrush
- Mod Podge or clear varnish to seal
- Plastic wrap or baking paper (to keep clay from sticking)
Step-by-Step Tutorial
Step 1: Roll Out Your Clay
Place your clay on a protected surface. Roll it out to about ¼ inch thick—thinner clay may crack, while thicker clay takes longer to dry.
Step 2: Stamp Your Design
Press stamps, lace, or natural textures firmly into the clay. Don’t be afraid to overlap patterns—imperfections are what make handmade bowls charming.
Step 3: Cut Your Circle
Use a cookie cutter or trace around a small bowl/lid to cut out a neat circle. Carefully remove the excess clay.
Step 4: Shape Your Bowl
Line a small bowl with plastic wrap, then gently press your clay circle inside to form the curved dish shape. Smooth any rough edges with damp fingers.
Step 5: Let It Dry
Leave the bowl to dry in the mold for at least 24–48 hours, flipping halfway if needed. Drying times vary depending on thickness and humidity.
Step 6: Add Color & Seal
Once fully dry, decorate with paint. Try metallic gold edges for a chic look, or soft pastels for a farmhouse vibe. When finished, seal with Mod Podge or varnish to protect your design.
Creative Variations to Try
- Gold Leaf Accents: Apply gold leaf around the rim for a luxe, modern finish.
- Marbled Clay: Mix two clay colors together for a stone-like effect before rolling.
- Botanical Prints: Press leaves, herbs, or flowers into the clay for organic texture.
- Stamped Words: Use alphabet stamps to personalize with names, quotes, or affirmations.
- Seasonal Gifting: Make red and green stamped bowls for Christmas or soft floral bowls for spring.
Tips for Success
- Keep a small bowl of water nearby to smooth out cracks.
- Always dry slowly at room temperature—don’t rush it with heat.
- Make several at once! These bowls look stunning grouped together.
Air dry clay crafts are beginner-friendly, inexpensive, and endlessly customizable. These stamped bowls are both practical and decorative, and they make thoughtful handmade gifts without needing a kiln or fancy tools.
If you’ve been wanting to try clay crafts but felt intimidated, this is your perfect starter project.