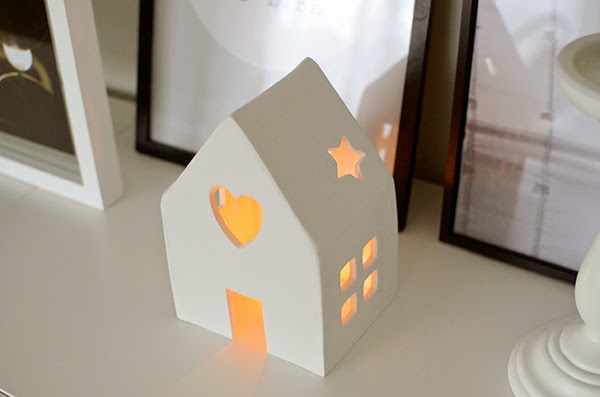
These tutorials (the original is not in English. Here is a link to the translated version) are meant to illustrate some great options for air dry clay but, as with many air dry clay projects, they work equally well with polymer clay. Substitute “bake at the recommended time” for “let dry for x hours” and away you go. The little tie on ring bowls are great either for weddings or as favours at wedding receptions. The candle or votive houses at the end of the tutorial were what caught my eye. To do this with polymer clay I’d bake the flat pieces first, between tiles or weights to keep things as flat as possible then assemble with liquid clay and a line of clay “caulking” to join. I’d probably also put a form like a cardboard box or wadded foil to hold pieces while they bake. Even masking or floral tape would work.
After you’ve constructed your pieces you can leave them stark white or paint them as you’d like. Or, do it from colourful clay or translucent clay to start with.
Looking for air-drying clay? We highly recommend Das Air dry clay, we have been using this product for over 30 years. Check out their Das White Air drying clay and their Terracotta Air drying clay
version for a natural pottery feel. For larger crafts we recommend buying your air drying clay in bulk