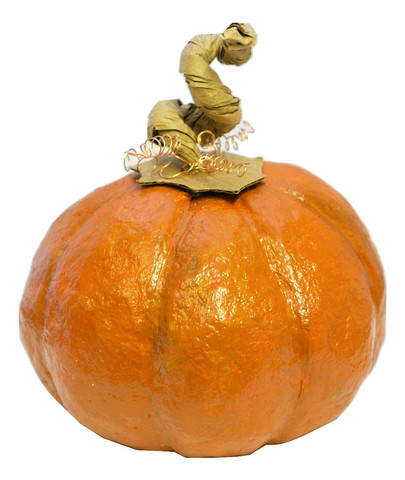
It’s a pumpkin patch without having to grow the silly things. The tutorial for the above piece uses Celluclay which is a fairly grainy air drying paper clay that is great for larger projects. If you’ve ever done a similar project with papier mache this stuff is much more effective.
That said, use a rolling pin to flatten your wads of clay. It’ll keep things more even as they go on. Use water to smooth edges and burnish as you go. Want to make smaller pumpkins with air dry clay? Use water-bomb balloons the same way and use the finer grained Creative Paperclay. The stuff is magic for taking paint and sands well after drying.
I can’t think of quite as simple a way to do this with oven bake clay – for hollow pumpkins – but I’ve made scads of little foil centre pumpkins. This cuts down on the clay and the baking time. Bonus, you can use pumpkin coloured clay right off. If you need your polymer clay pumpkin to be larger, wad up paper and wrap it with floral tape. Do a final smooth layer for your form before you apply sheets of polymer clay.
Looking for air-drying clay? We highly recommend Das Air dry clay, we have been using this product for over 30 years. Check out their Das White Air drying clay and their Terracotta Air drying clay
version for a natural pottery feel. For larger crafts we recommend buying your air drying clay in bulk
