• Home
  • Suggest A DIY
  • DIY Newsletter

Polymer Clay

Fimo and clay tips and tutorials

  • About CraftGossip
  • Our Network
    • Bath & Body Crafts
    • Candle Making Ideas
    • Crochet Ideas
    • Cross Stitch
    • Edible Crafts
    • Felting Patterns
    • Glass Art
    • Home & Garden Ideas
    • Indie Crafts
    • Jewelry Making
    • Kids Crafts
    • Knitting Patterns
    • Lesson Plans
    • Needlework
    • Party Ideas
    • Polymer Clay
    • Quilting Ideas
    • Recycled Crafts
    • Scrapbooking
    • Sewing Patterns
    • Card Making
    • DIY Weddings
    • Not Craft Ideas
  • Giveaways
  • Roundups
  • Store
  • Search

7 Garden Markers Made From Polymer Clay

May 22, 2014 by Larissa Coleman

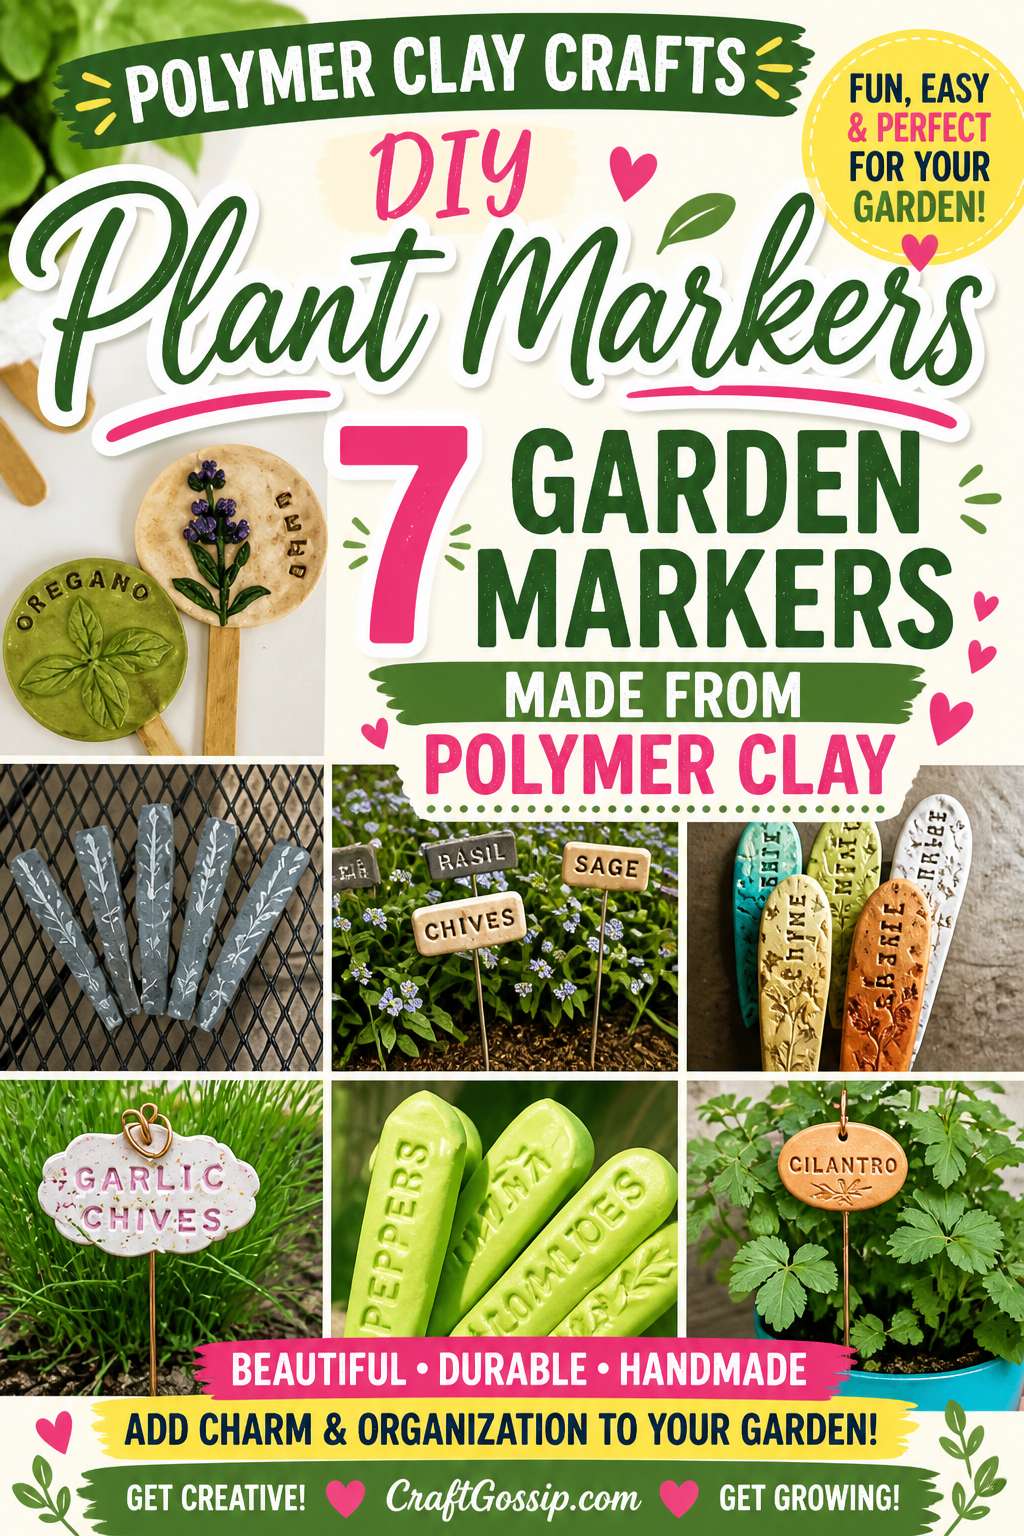
Many of us have been planting our gardens, and if not, we will be soon.  Whether it be a large garden or a few simple planters with some herbs, it can sometimes be difficult to remember what you planted, and where.   Today we have brought you 7 ideas for making your own garden markers from polymer clay.  You can make them as fancy or as simple as you’d like.  Try them out to help keep your gardening space a bit more organized.


Looking for more garden marker ideas? Check these out on Etsy    Starting your garden from scratch? Check out these Seed starter pots and mini greenhouse to help your plants get the best start. I do not have a green thumb at all, in fact, I have been known to ruin a plastic plant (long story) but  I do love how calm and serene it can be working in a quiet garden.

SONY DSC

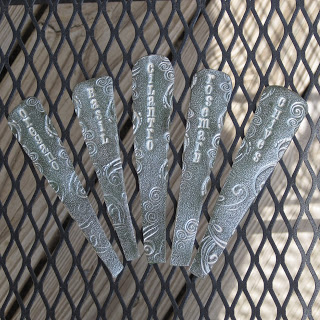
1- Polymer Clay Garden Stakes from Crafty Goat’s Notes

greymarkers

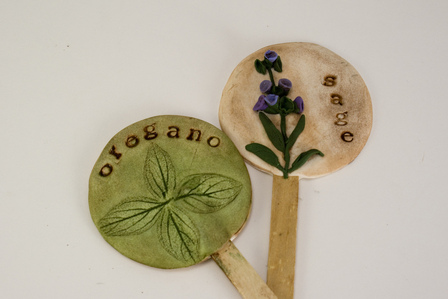
2- Polymer Clay Herb Markers from Steph Jacobson

plantmarkers

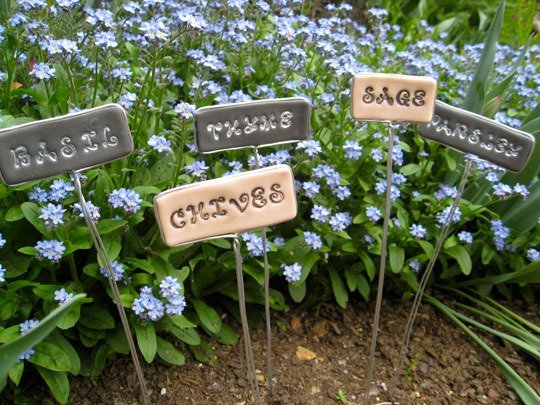
3- Polymer Clay Plant Markers from Apartment Therapy

ombre

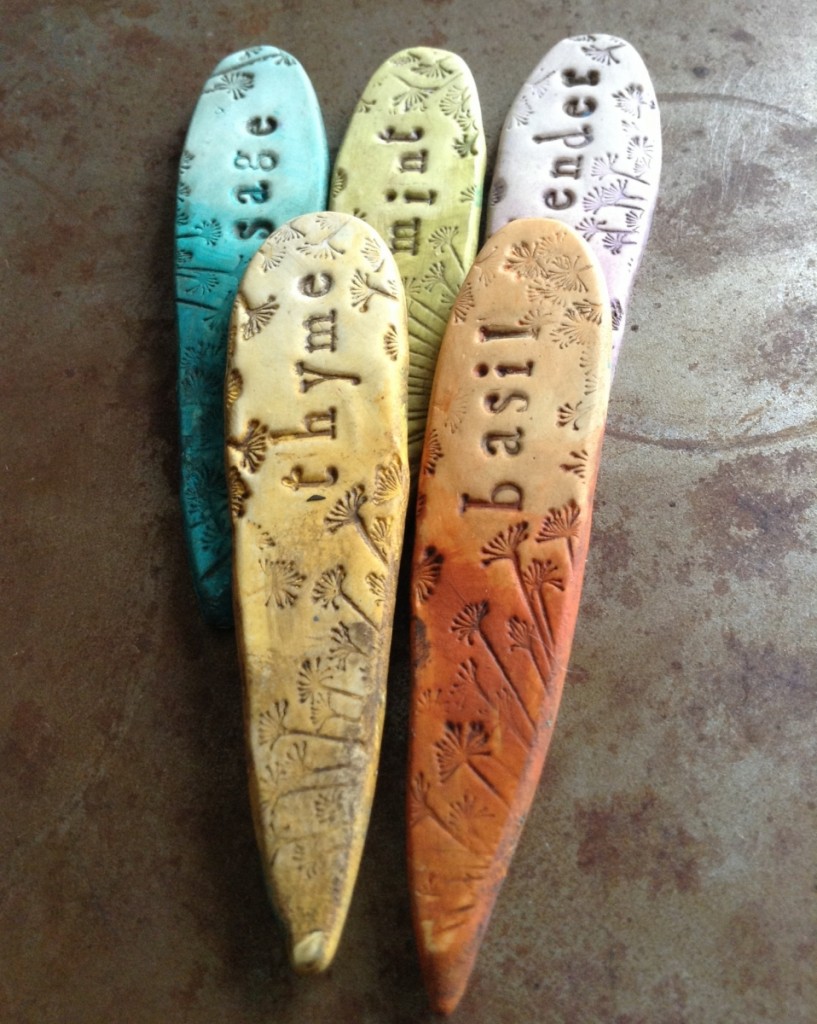
4- Ombre Herb Garden Markers from Humble Beads

DIY

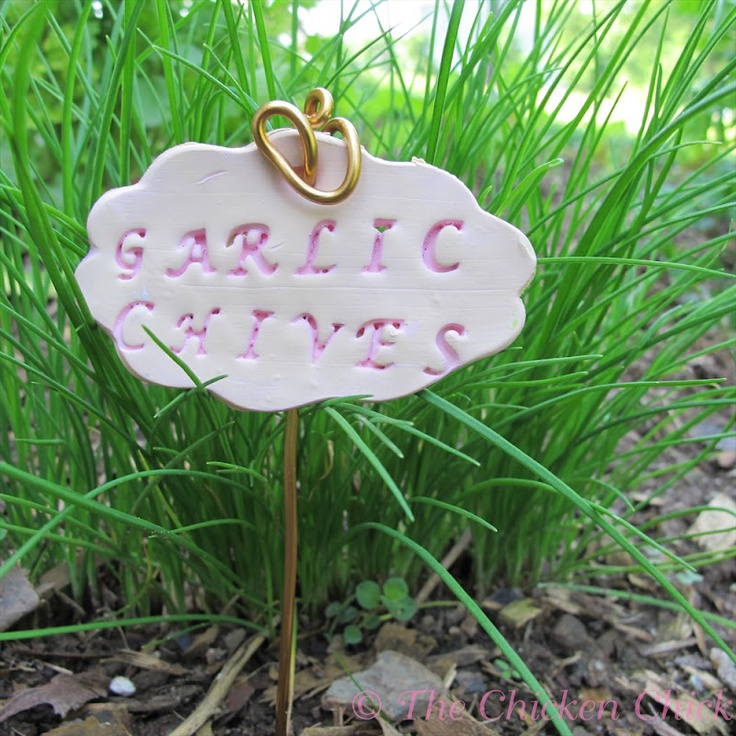
5- DIY Garden Markers from The Chicken Chicks

Spring_Markers

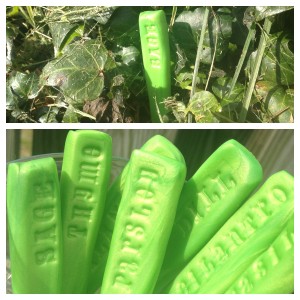
6- Spring Garden Markers from The Crafty Scientist

herbmarkers

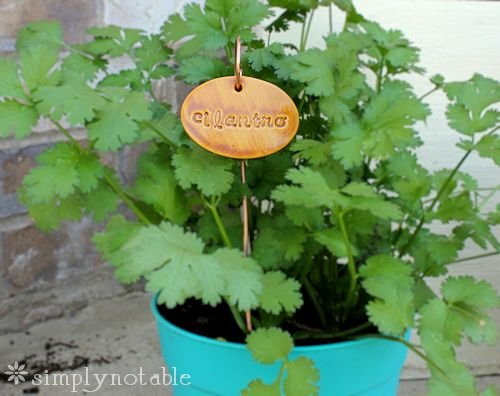
7- Herb Garden Markers from Simply Notable

Next Polymer Clay Idea:

  • How To Make An Air Dry Clay Paint Palette With…
«
»

Have you read?

DIY Pottery Clay Doily Platter with Pink Speckled Glaze

There’s something special about combining old traditions with modern design. I’ve always adored the stack of vintage doilies handed down from my grandmother, but since lace doesn’t exactly suit my home aesthetic, I started experimenting with ways to repurpose their beautiful patterns in clay. That’s how I ended up creating this doily pottery platter—a simple slab of clay transformed into a textured serving dish with the help of lace, white clay, and a soft pink speckled glaze.

The result is a handmade ceramic platter that looks both timeless and contemporary, perfect for styling on a coffee table, serving treats, or simply displaying as a piece of art.

Materials You’ll Need

  • White pottery clay (stoneware or porcelain recommended)

  • Rolling pin

  • Crochet doily (cotton lace works best)

  • Sharp knife or clay cutter

  • Oval or rectangular template (a cutting board, tray, or paper template works well)

  • Sponge and water

  • Plastic wrap

  • Kiln access (or a local pottery studio firing service)

  • White glaze

  • Pink speckled glaze (or white glaze with pink oxide/pigment speckles)

Step-by-Step Tutorial

Step 1: Roll Out the Clay

Roll your clay slab to about 1/4 inch thick. Keep it even and wide enough to cut an oval platter shape.

Step 2: Press the Doily

Lay your crochet doily flat across the clay. Use the rolling pin to firmly press the pattern into the surface. Lift it carefully to reveal the intricate lace design imprinted into the clay.

Tip: Dust the doily lightly with cornstarch if it tends to stick.

Step 3: Cut the Platter Shape

Using your knife and a template, cut around the clay to form an oval platter shape. Smooth the edges with your fingers or a damp sponge.

Step 4: Lift and Shape the Platter

For a slightly raised platter, drape the clay gently over a shallow mold (like a plate or tray lined with plastic wrap). If you prefer a flat serving dish, leave it as-is on your board.

Step 5: Let It Dry

Allow the platter to dry until leather-hard. Refine the edges with a sponge, smoothing away any rough spots. Once it reaches bone dry, it’s ready for bisque firing.

Step 6: Glaze and Fire

After the first firing, apply a coat of white glaze over the entire platter. Then lightly layer on a pink speckled glaze (you can also achieve this by flicking pink oxide pigment into a clear glaze). The pink speckles add a playful, modern twist while still allowing the lace pattern to shine through. Fire again according to your glaze instructions.

Styling Your Finished Platter

This platter is both practical and beautiful. You can:

  • Use it as a serving dish for cakes, cookies, or fruit.

  • Style it on a coffee table with candles or trinkets.

  • Display it as wall art by adding a plate hanger.

  • Gift it as a keepsake—perfect for Mother’s Day, weddings, or housewarmings.

Every platter I make carries the memory of my grandmother’s doilies, but in a form that feels modern and at home with my style. The pink speckled glaze gives it a playful softness, while the lace impression keeps that touch of handmade tradition alive. It’s proof that old textiles can inspire something completely fresh when reimagined in clay.


Categories

air dry clay animals Artist Spotlight Christmas Clay Canes Clay Charms Craft Inspirations DIY Clay Tutorials and Patterns earrings Freebies halloween Inspiration necklace Plates, Bowls & Platters Polymer Clay Polymer Clay - Techniques Polymer Clay - Tutorials Polymer Clay Community Tips/Tools valentine's day

RSS More Articles

  • Cross Stitch Ice Cream and Frozen Treats
  • 15 Charity Sewing Projects That Let You Sew Something Useful For A Good Cause
  • Sunflower Ribbon Embroidery Tutorials and Kits to Brighten Your Hoop
  • Decorating Mistakes That Make Your Living Room Feel Cluttered
  • Remembering Jill Smokler, Founder Of Scary Mommy
  • In the Garden Layer Cake – A Bloom-Filled Fabric Collection for Spring Sewing
  • How To Do Kitchener Stitch: A Beginner-Friendly Guide To Grafting Knitting Seamlessly
  • Pattern Review: Georgie Granny Square Bucket Hat Crochet Pattern
  • 12 Handmade Patriotic 4th of July Card Ideas
  • Shark Week Learning for Kids

Pick Your Blog

  • Sewing
  • Knitting
  • Quilting
  • Crochet
  • Home & Garden
  • Recycled Crafts
  • Scrapbooking
  • Card Making
  • Polymer Clay
  • Cross-Stitch
  • Edible Crafts
  • Felting
  • Glass Art
  • Indie Crafts
  • Kids Crafts
  • Jewelry Making
  • Lesson Plans
  • Needlework
  • Bath & Body
  • Party Ideas
  • Candle Making
  • DIY Weddings
  • Not Craft
  • Free Craft Projects

Copyright © 2026 · CraftGossip | Start Here | Contact Us | Link to Us | Your Editors | Privacy and affiliate policy