Ceramics and pottery have become increasingly popular over the years, with many people embracing the art of creating beautiful and functional pieces from clay. However, one of the main challenges of getting into ceramics is the cost and accessibility of a kiln, which is necessary to harden the clay and bring it to its finished state. Not everyone has access to a kiln or can afford to use one, which can be discouraging for those who are interested in trying their hand at pottery.
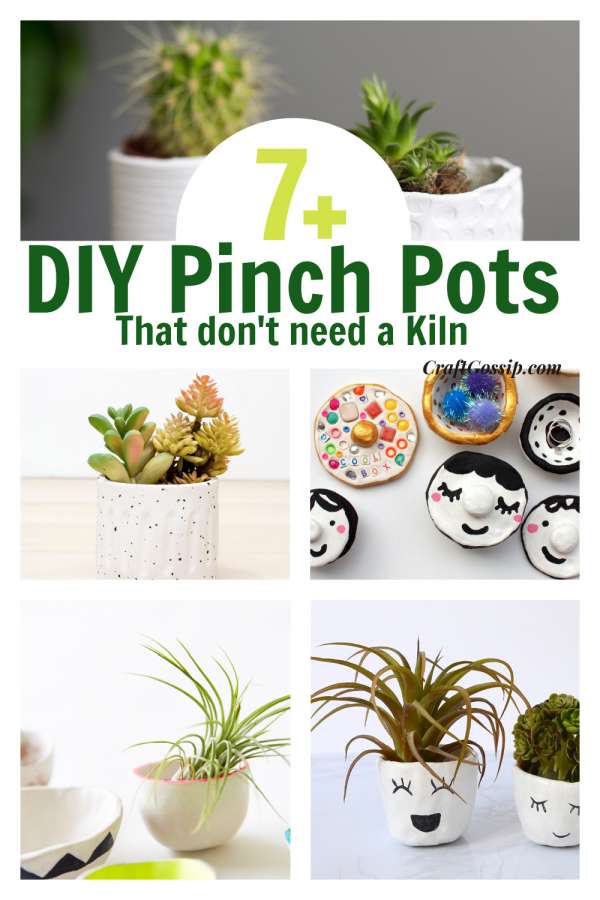
That’s where these seven ceramic pinch pots come in. This roundup is all about showcasing creative and accessible ways to create ceramics without requiring a kiln. Each of these pinch pots is made using clay that can be hardened in a variety of ways, such as air drying or baking in a standard oven. This means that anyone, regardless of their access to a kiln or their budget, can enjoy the beauty and functionality of handmade ceramics.
These pinch pots are not only practical but also beautiful and unique. From small trinket dishes to larger bowls, each piece showcases the natural texture and colors of the clay, creating a rustic and organic aesthetic. Plus, creating pinch pots is a great way to get started in ceramics, as it requires minimal equipment and can be done at home with just a few basic supplies.
You can use air drying clay or a DIY porcelain clay to create your pinch pots.
Making DIY pinch pots with Crayola air-dry clay
DIY Air-Dry Clay Planters ? Previous
Painted Mosaic Pinch Pots For Little Treasures
Modern DIY Mini Air Dry Clay Pot
DIY Clay Pots: Easy Project with Air Dry Clay – Consumer Crafts
DIY mini Vasen für Sukkulenten und Kakteen selbermachen – Modelliermasse
Pinch pots made from air drying clay
Air-drying clay is a versatile crafting material that can be used to create everything from jewelry to home decor. It’s a popular choice for DIY enthusiasts as it’s easy to work with and doesn’t require any special equipment or kiln firing. While you can buy air drying clay at most craft stores, it’s also possible to make your own at home with just a few simple ingredients. In this tutorial, I’ll be showing you how to make your own DIY air drying clay that’s perfect for all your crafting needs.
How to make air drying clay
Materials:
1 cup cornstarch
2 cups baking soda
1 1/2 cups water
Mixing bowl
Spoon
Pot
Stove
Instructions:
In a mixing bowl, combine the cornstarch and baking soda. Mix well until the two powders are fully incorporated.
In a pot, add the water and place it on the stove over medium heat. Bring the water to a boil.
Once the water is boiling, reduce the heat to low and add the cornstarch and baking soda mixture to the pot. Stir constantly until the mixture thickens and begins to resemble mashed potatoes.
Remove the pot from the heat and transfer the mixture to a mixing bowl. Allow it to cool for a few minutes until it’s safe to touch.
Knead the mixture with your hands until it becomes smooth and pliable. If the mixture is too sticky, add a bit more cornstarch. If it’s too dry, add a bit more water.
Your DIY air drying clay is now ready to use! You can use it to make a variety of different projects such as jewelry, ornaments, and even small sculptures. Once you’ve finished your project, allow it to dry completely for 24-48 hours before painting or decorating it.
Tips:
If you don’t have cornstarch, you can use flour instead.
Store any unused clay in an airtight container to keep it from drying out.
To add color to your clay, you can mix in food coloring or paint it once it’s dry.
If you’re making a large project, you may want to work in smaller sections to make it more manageable.
If you want a smoother finish, you can sand the clay once it’s dry.


